Build Guide
I love playing drums, and I’ve always wanted to take them with me: down the street, wherever people are. This kit is how I do that. It isn’t something you can buy. I put it together slowly, one piece at a time, from regular drum hardware, a marching snare harness and a lot of trial and error, with a lot of help from good friends.
Many of you have asked how it’s built, so I’m sharing everything I’ve learned so far. I’m still learning and still changing things, so please take this as one drummer’s notes, not the right way to do it. If it sparks an idea for your own kit, that would make me really happy. The full setup currently weighs about 38 lb (17 kg).
This is simply what I did and what I learned along the way. It isn’t a fabrication manual or a safety certification. I haven’t documented rod lengths, bend geometry or leg cut lengths yet, so you won’t find them here.
1. The drums and where they sit
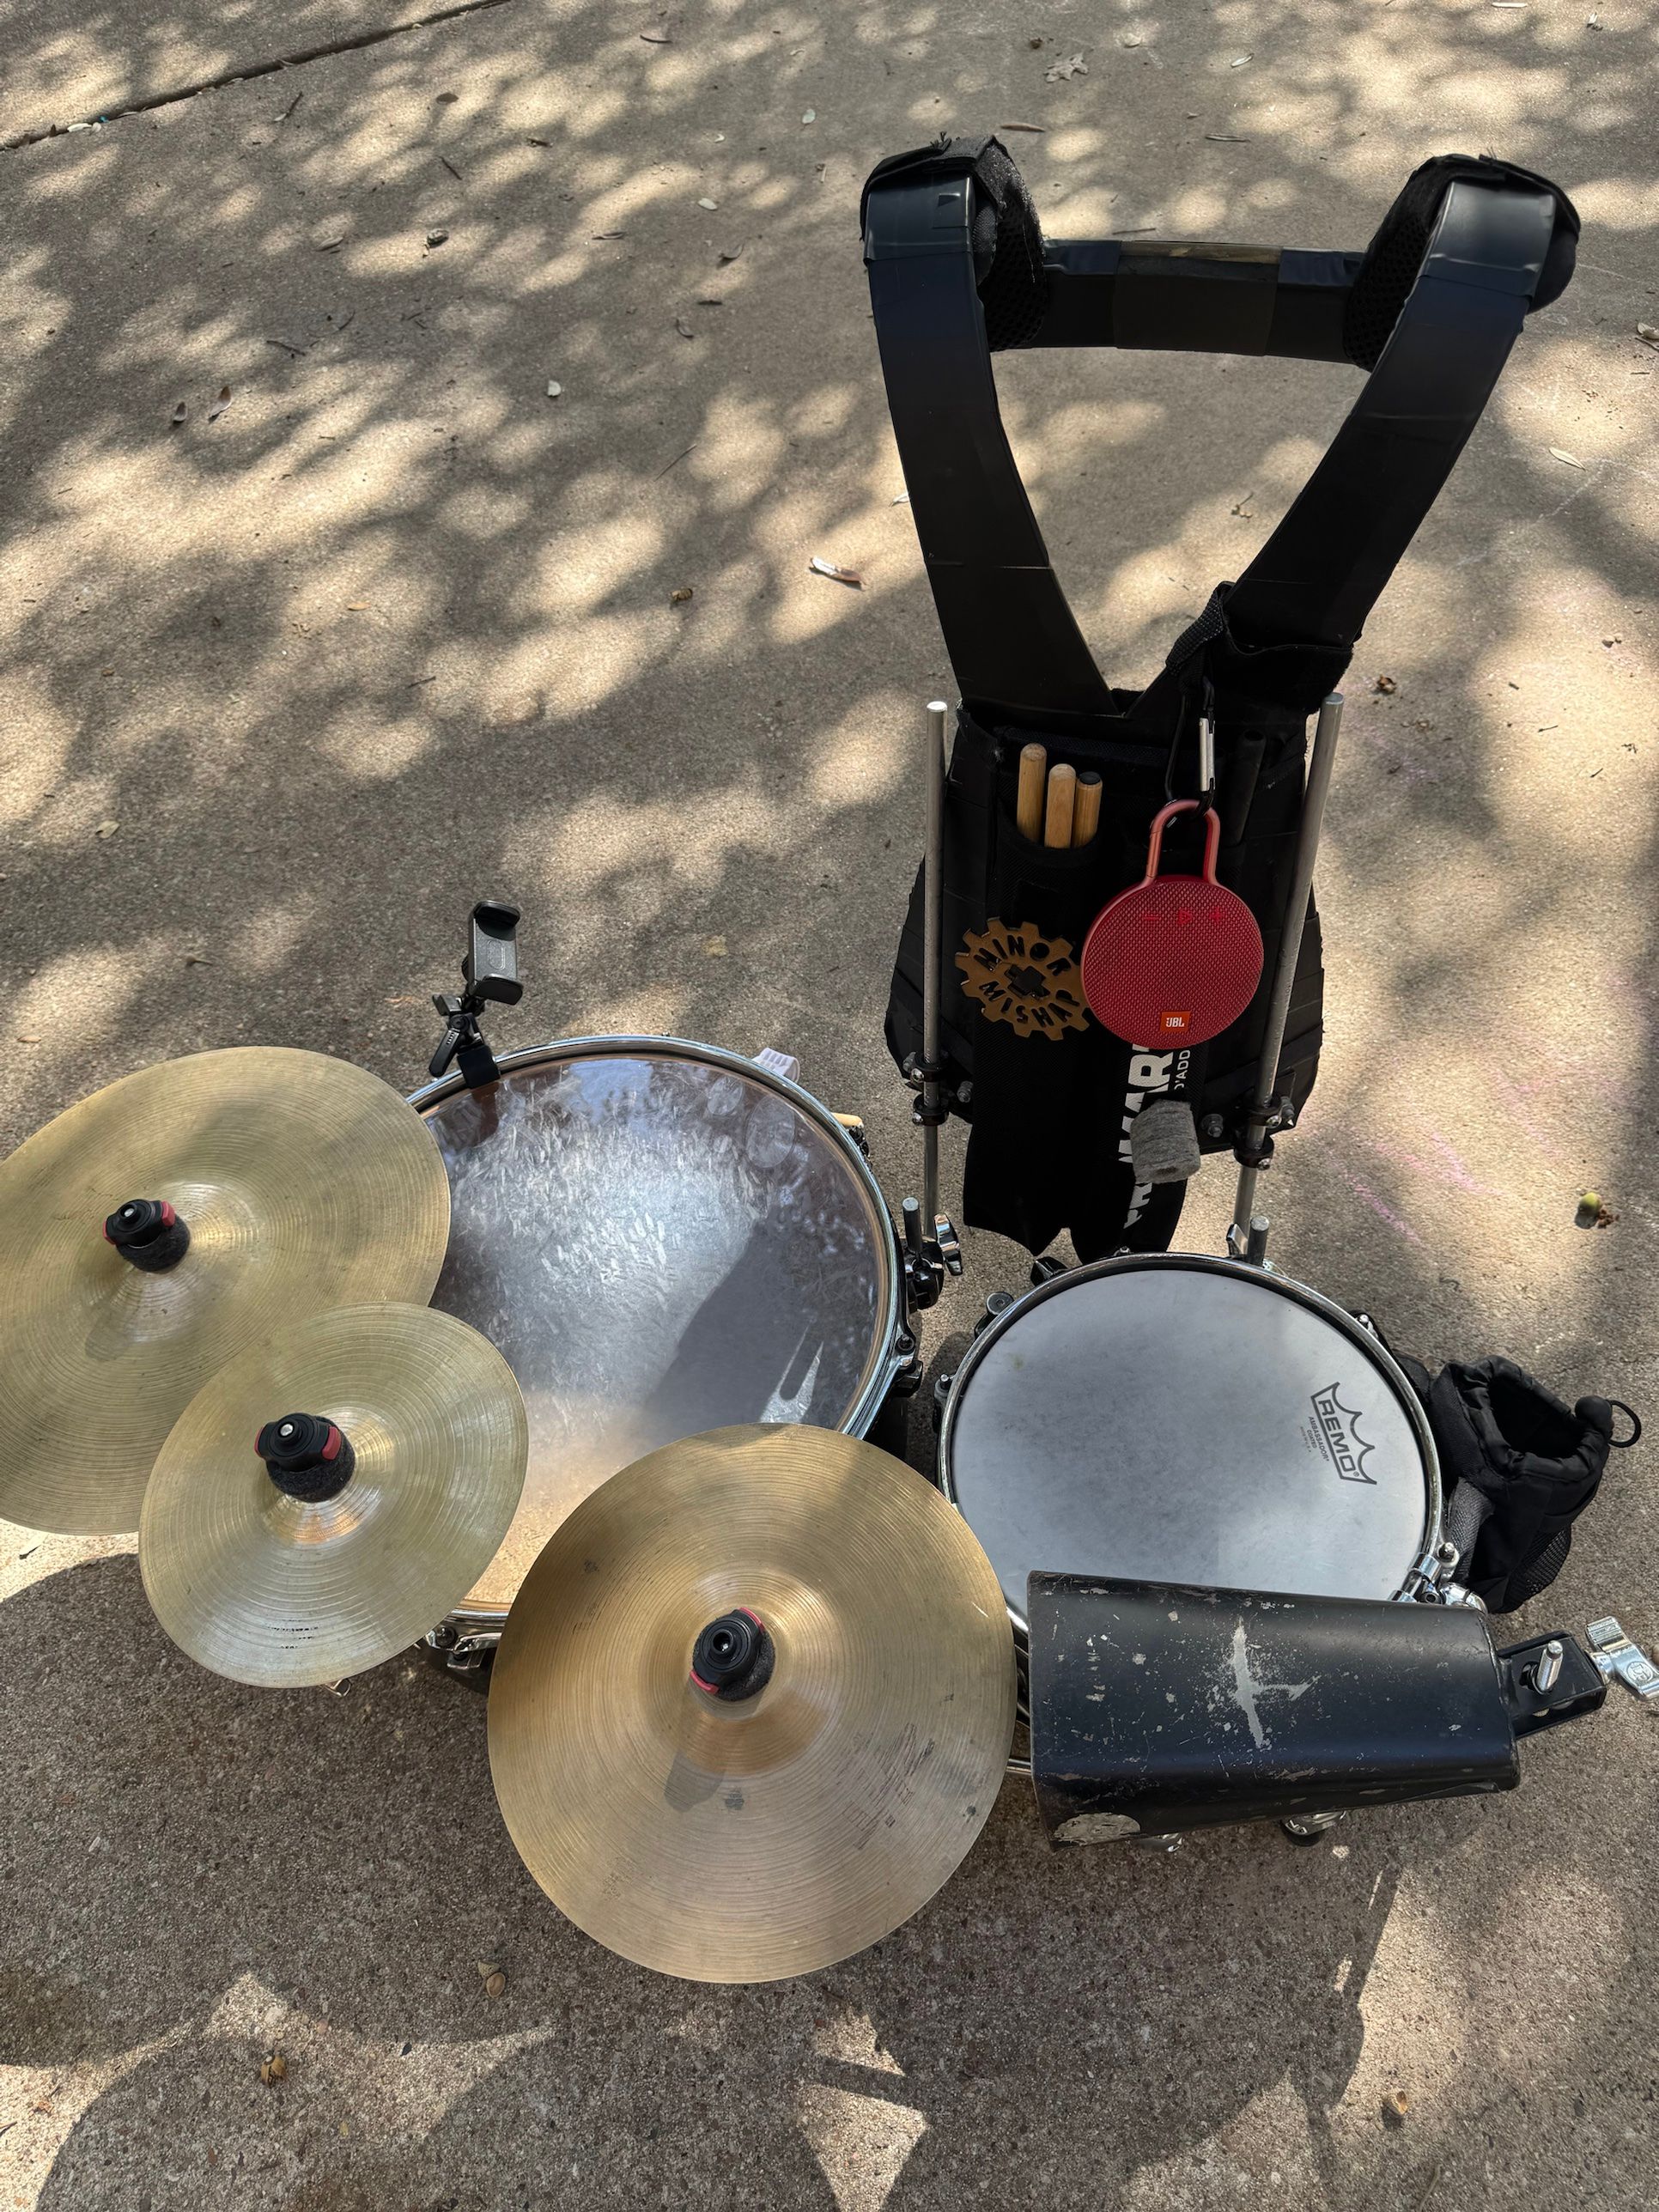
Positions are from the wearer’s view, facing forward:
- Left: 12-inch Mapex Black Panther snare, tuned relatively high.
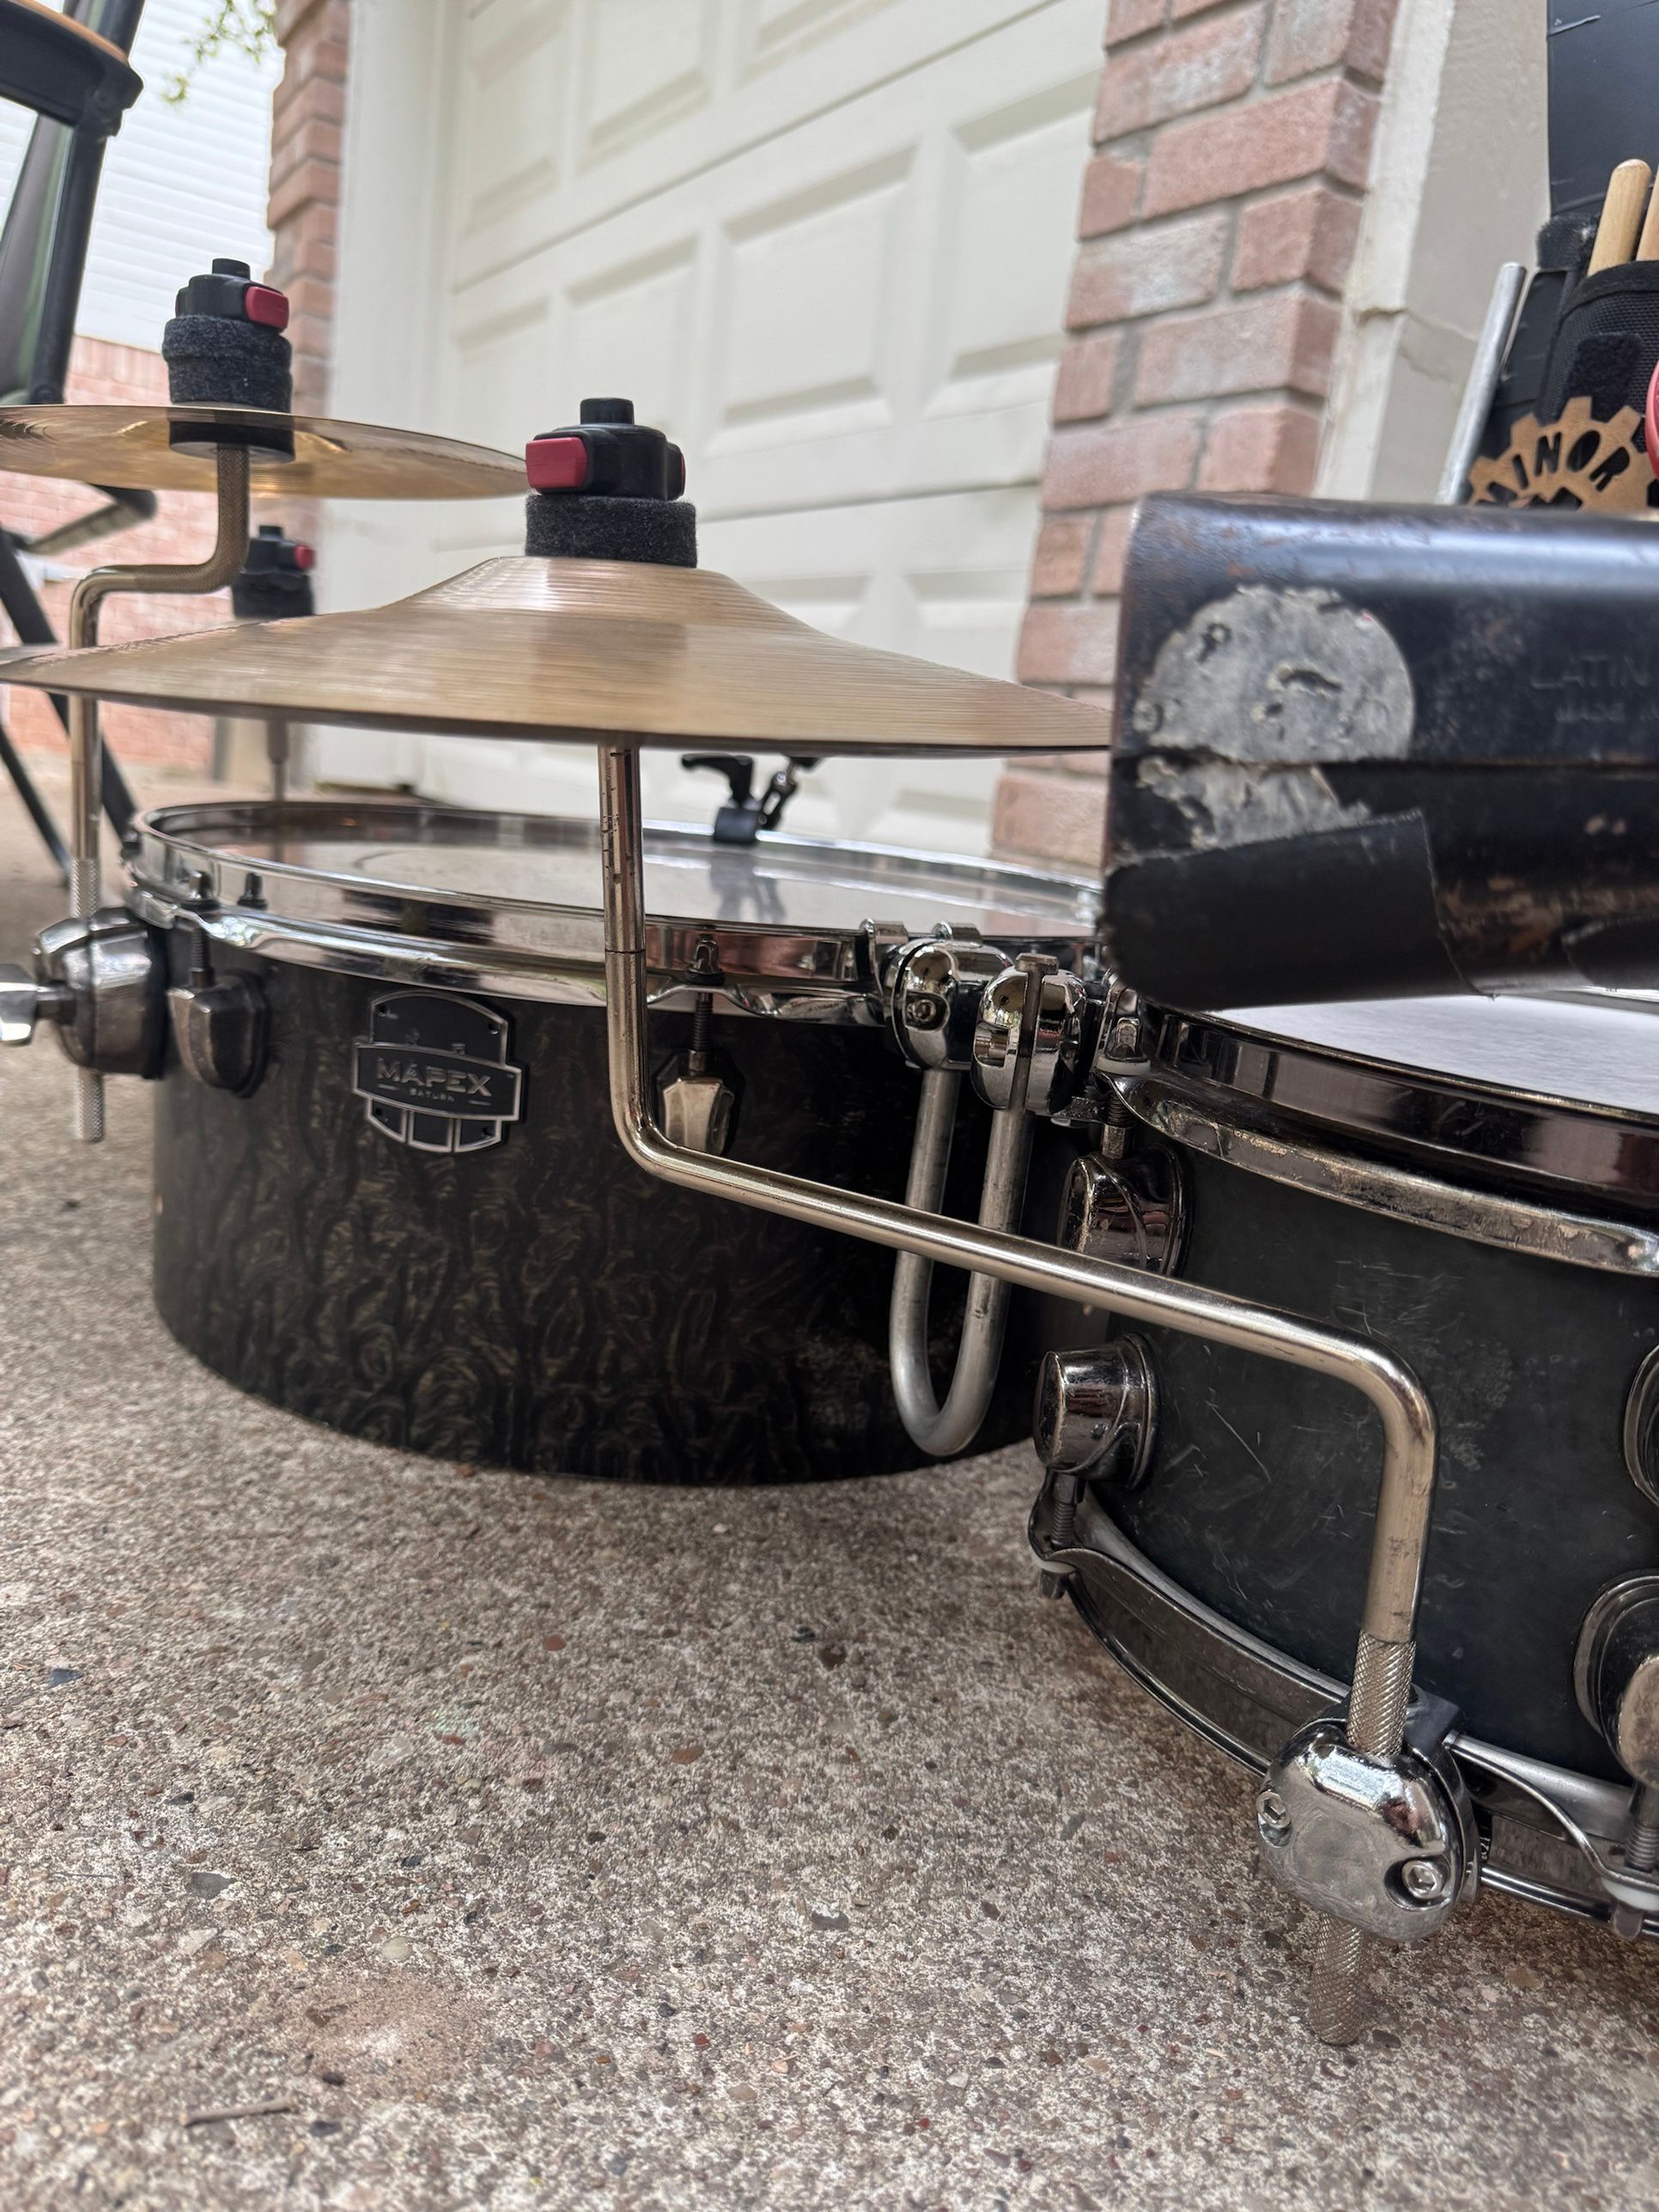
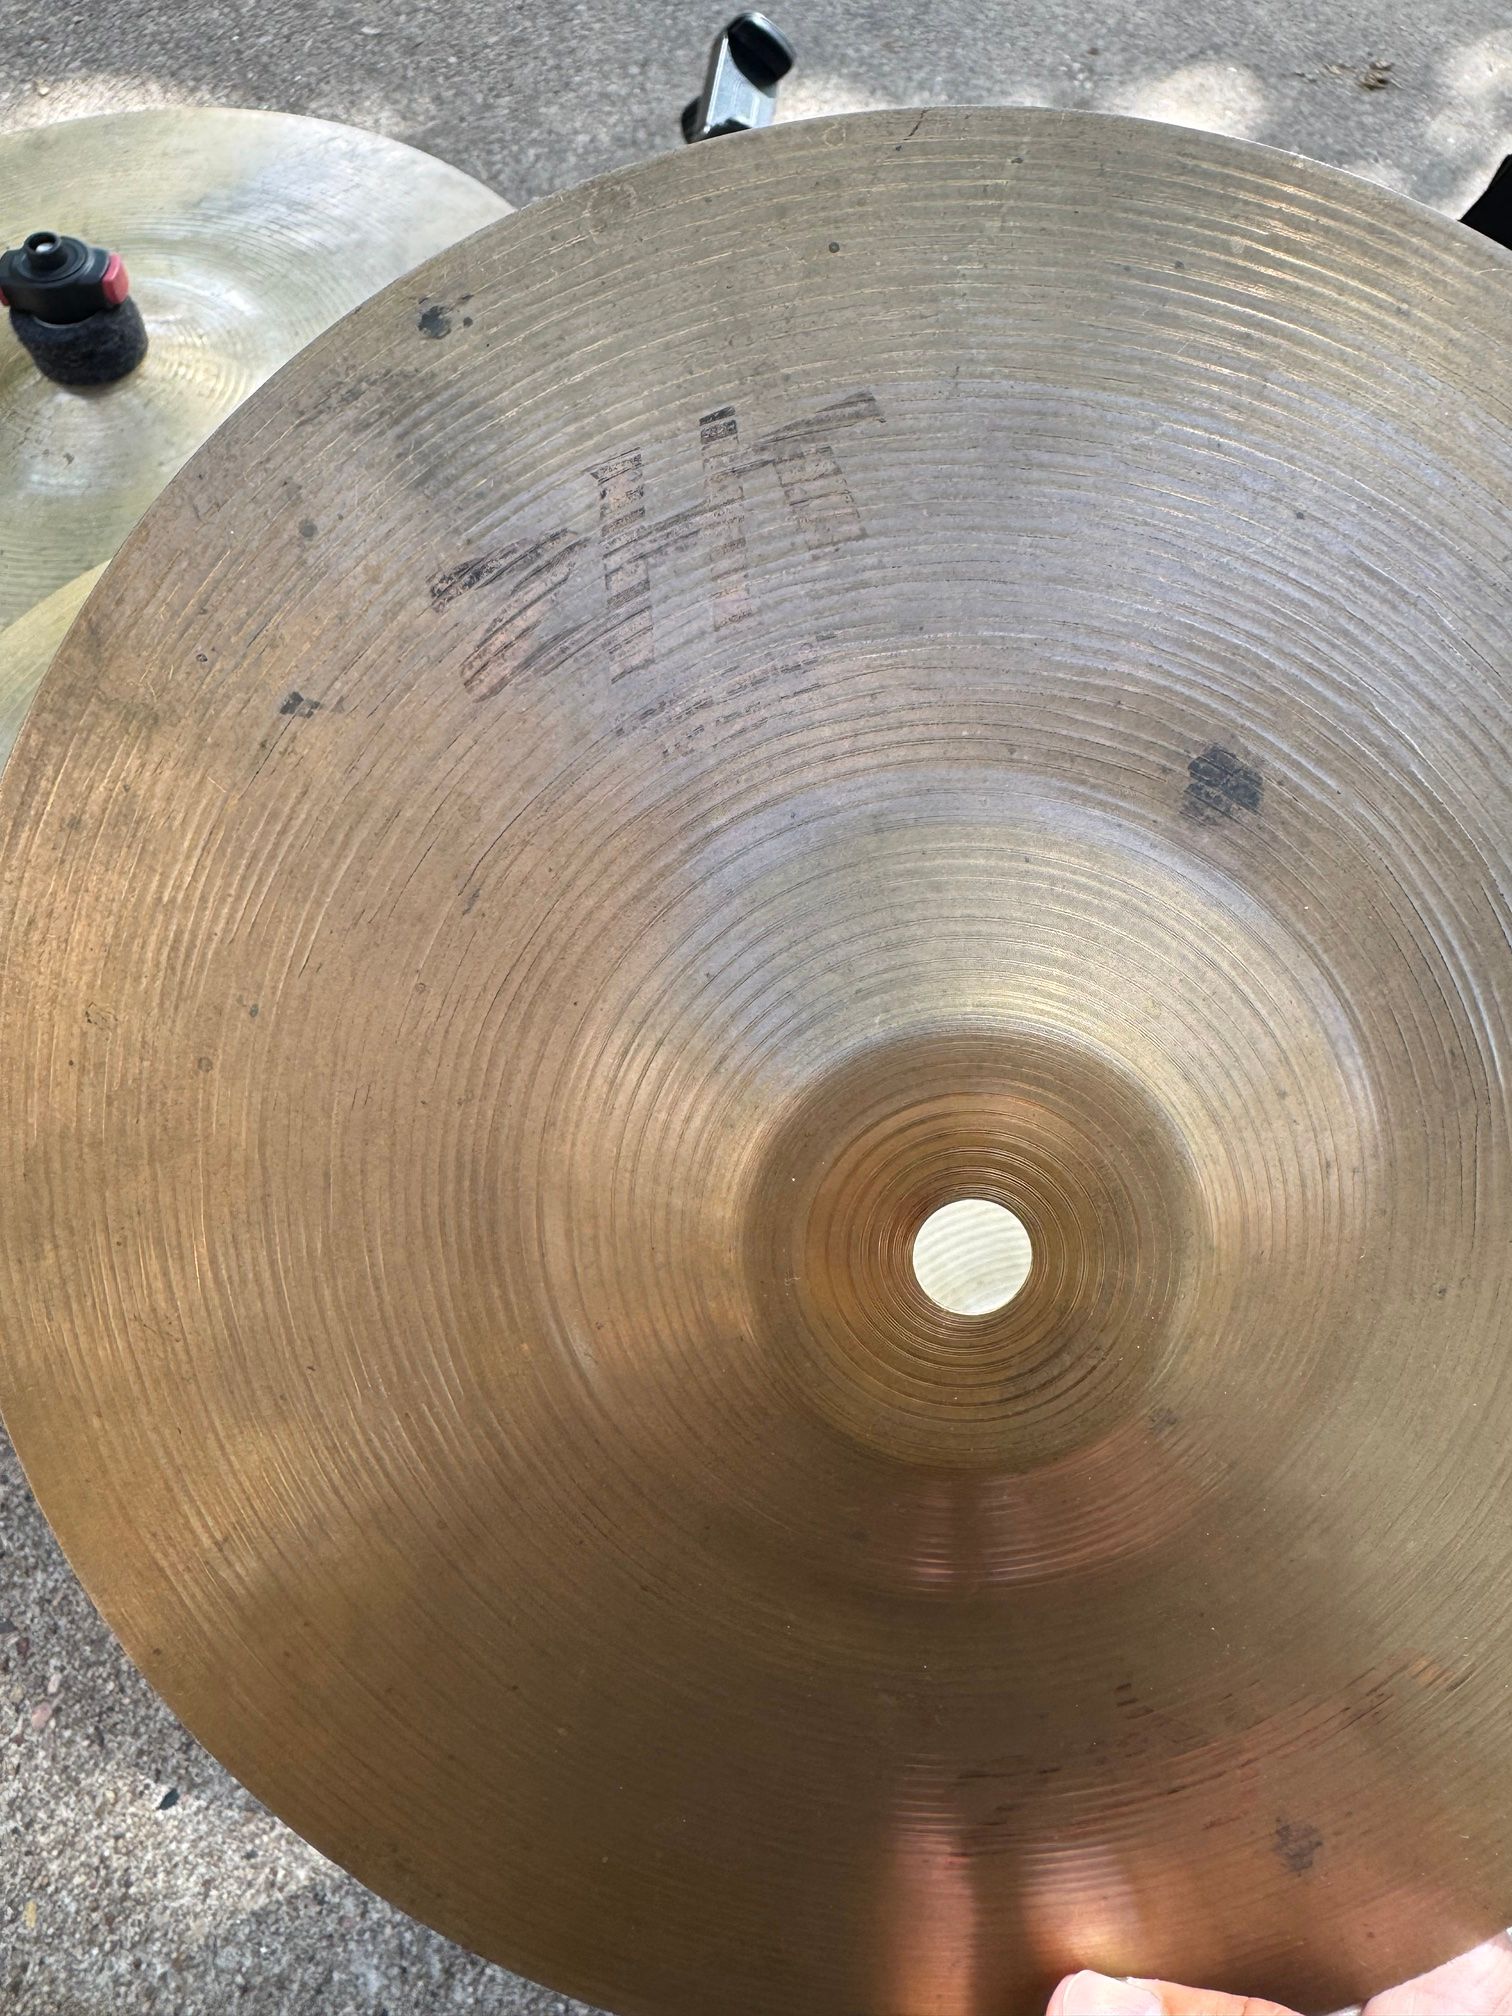
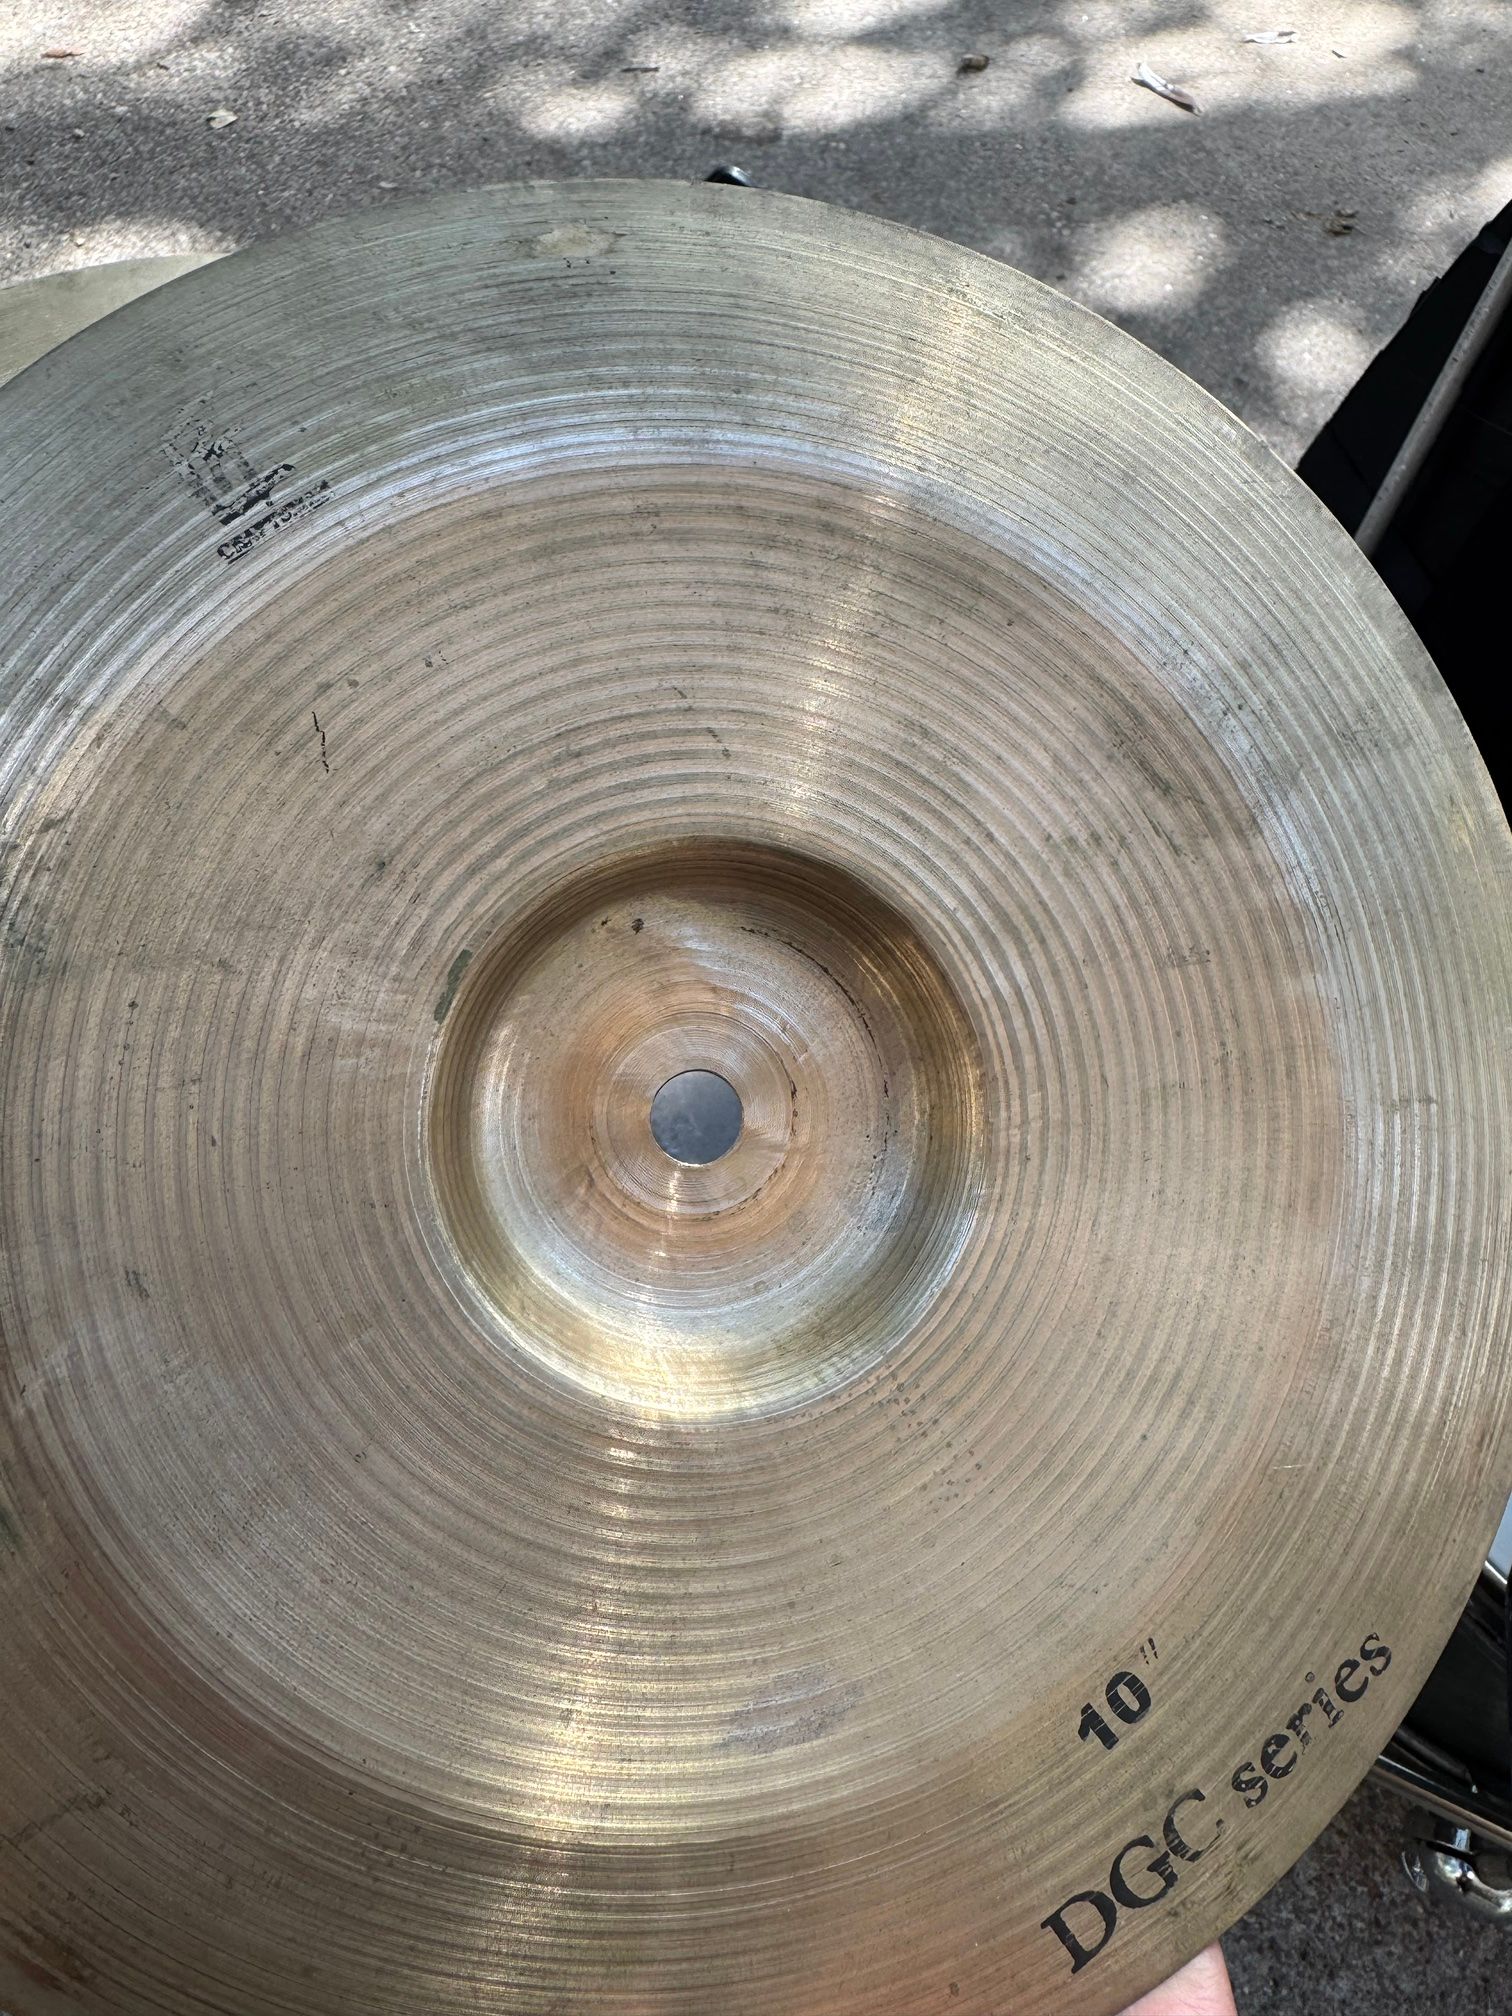
- Center: custom 10-inch hi-hat. A Zildjian ZHT 10-inch Splash is the top cymbal and a Craftsman DGC Series 10-inch China is the bottom cymbal.
- Right: 14 × 6.5-inch Mapex floor tom. It plays the bass voice of the kit.
There are also an 8-inch Wuhan Western Series Splash, a 13-inch Wuhan crash and a Latin Percussion LP205 Timbale Cowbell. The cowbell is mounted with the same type of stand and rod as the splash.
2. The harness and custom aluminum rods
The base is a silver REMO USA marching snare harness that I found on eBay. Its original carrier rods do not fit regular drum-set mounting holders, so they could not be used as they were.
My friend Chalo Colina fabricated replacement carrier rods from 7/16-inch aluminum rod.
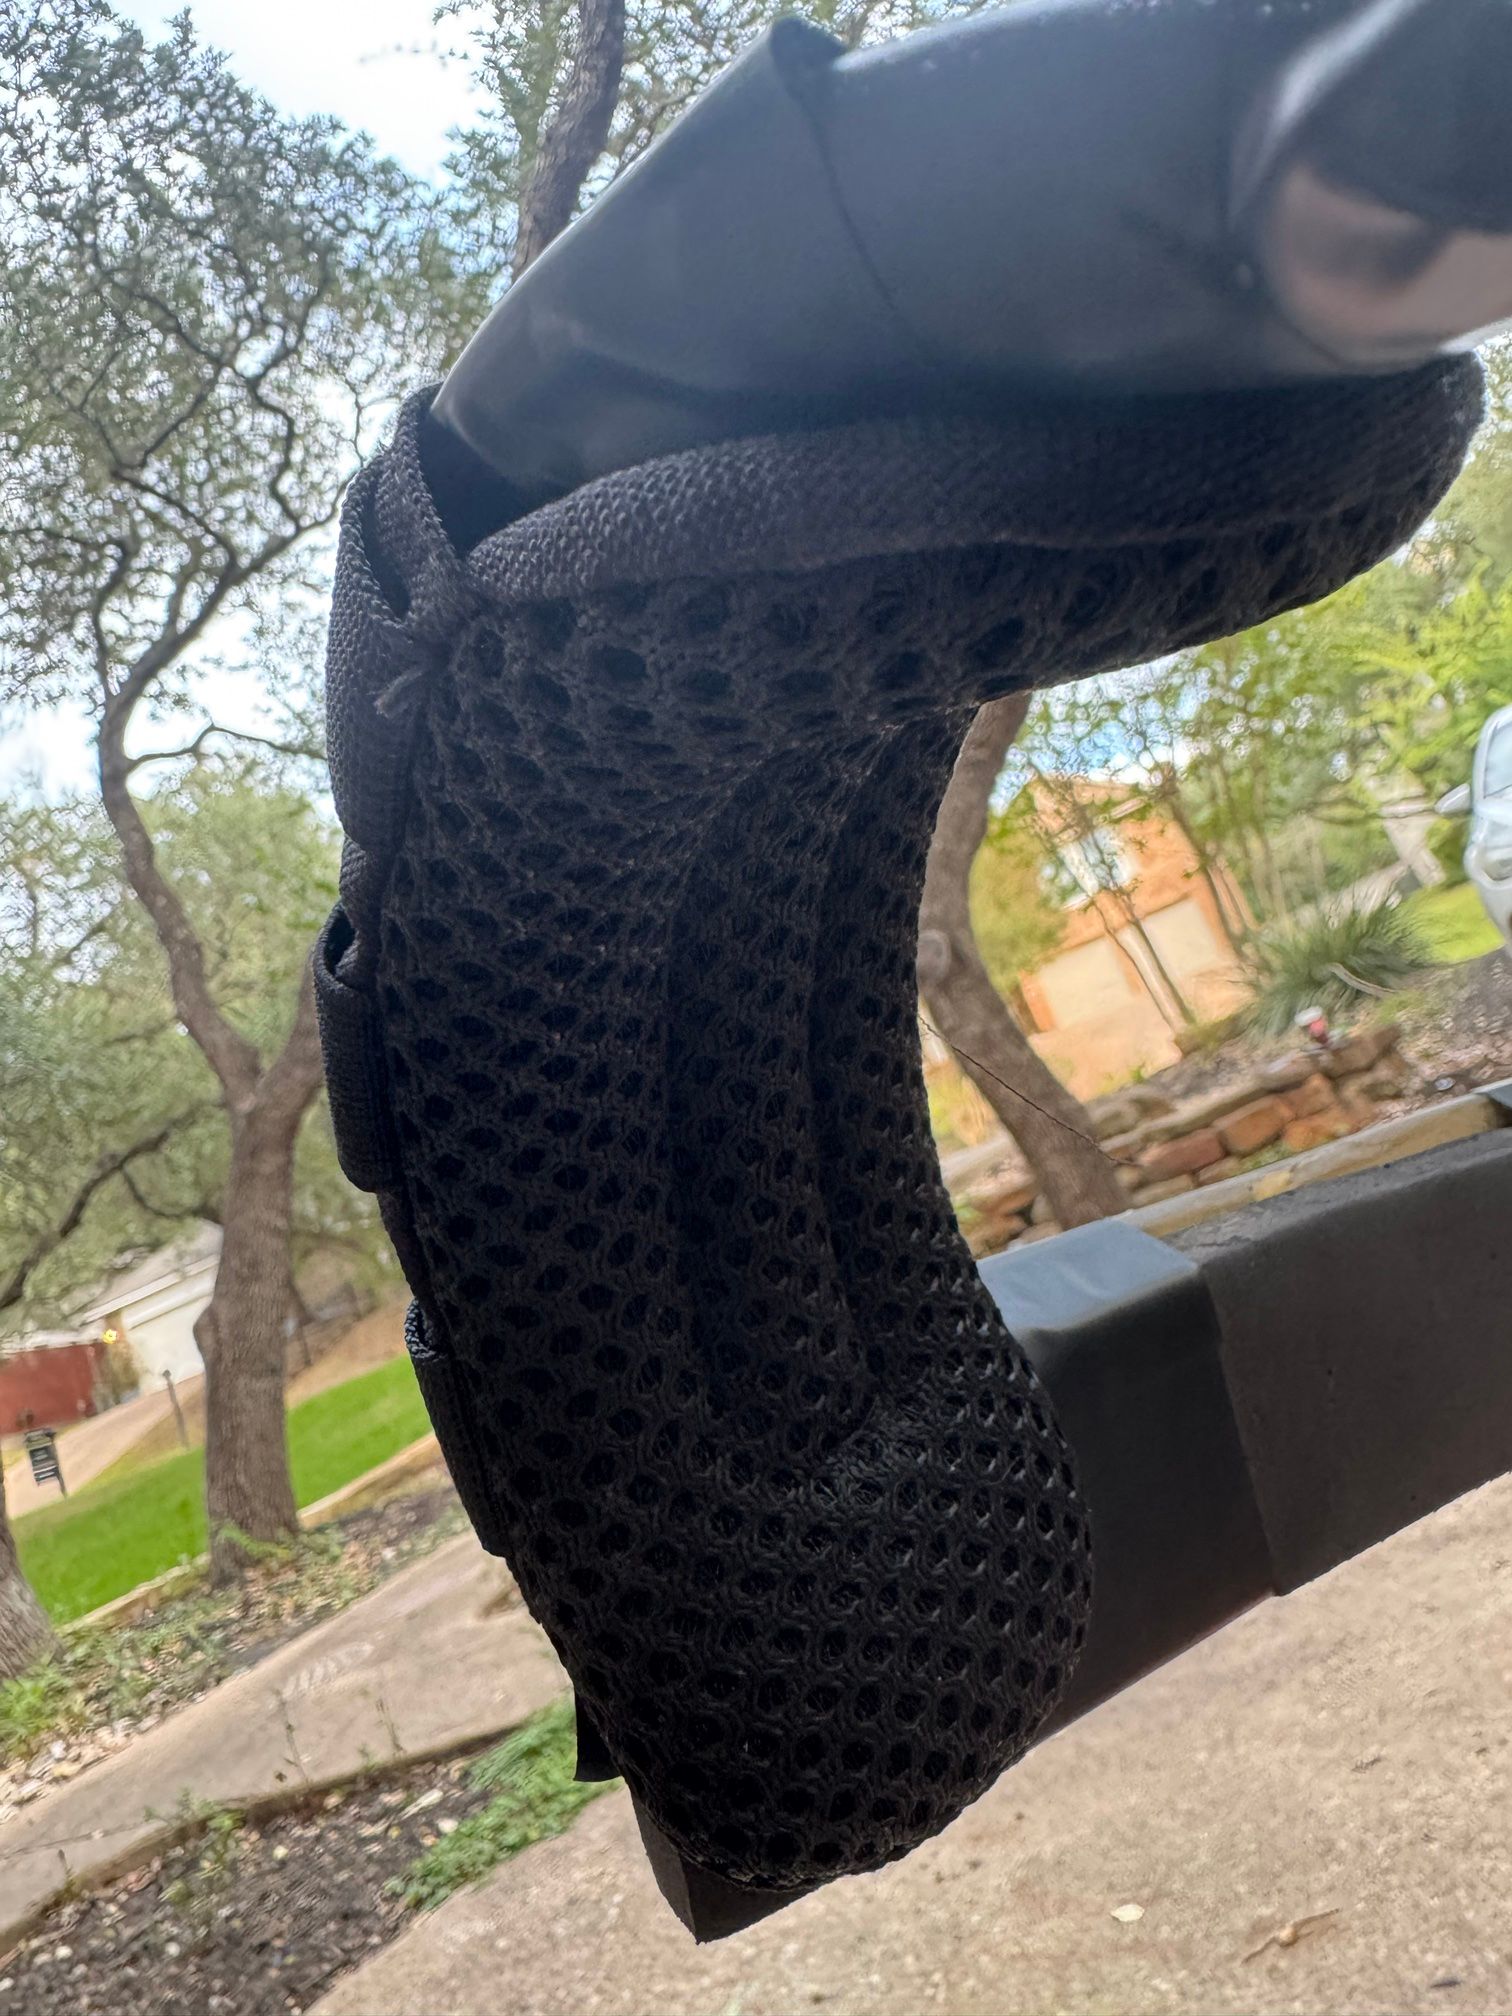
For comfort, I added tactifans shoulder strap pads made for 2-inch straps.
3. The U-shaped snare–floor-tom connector
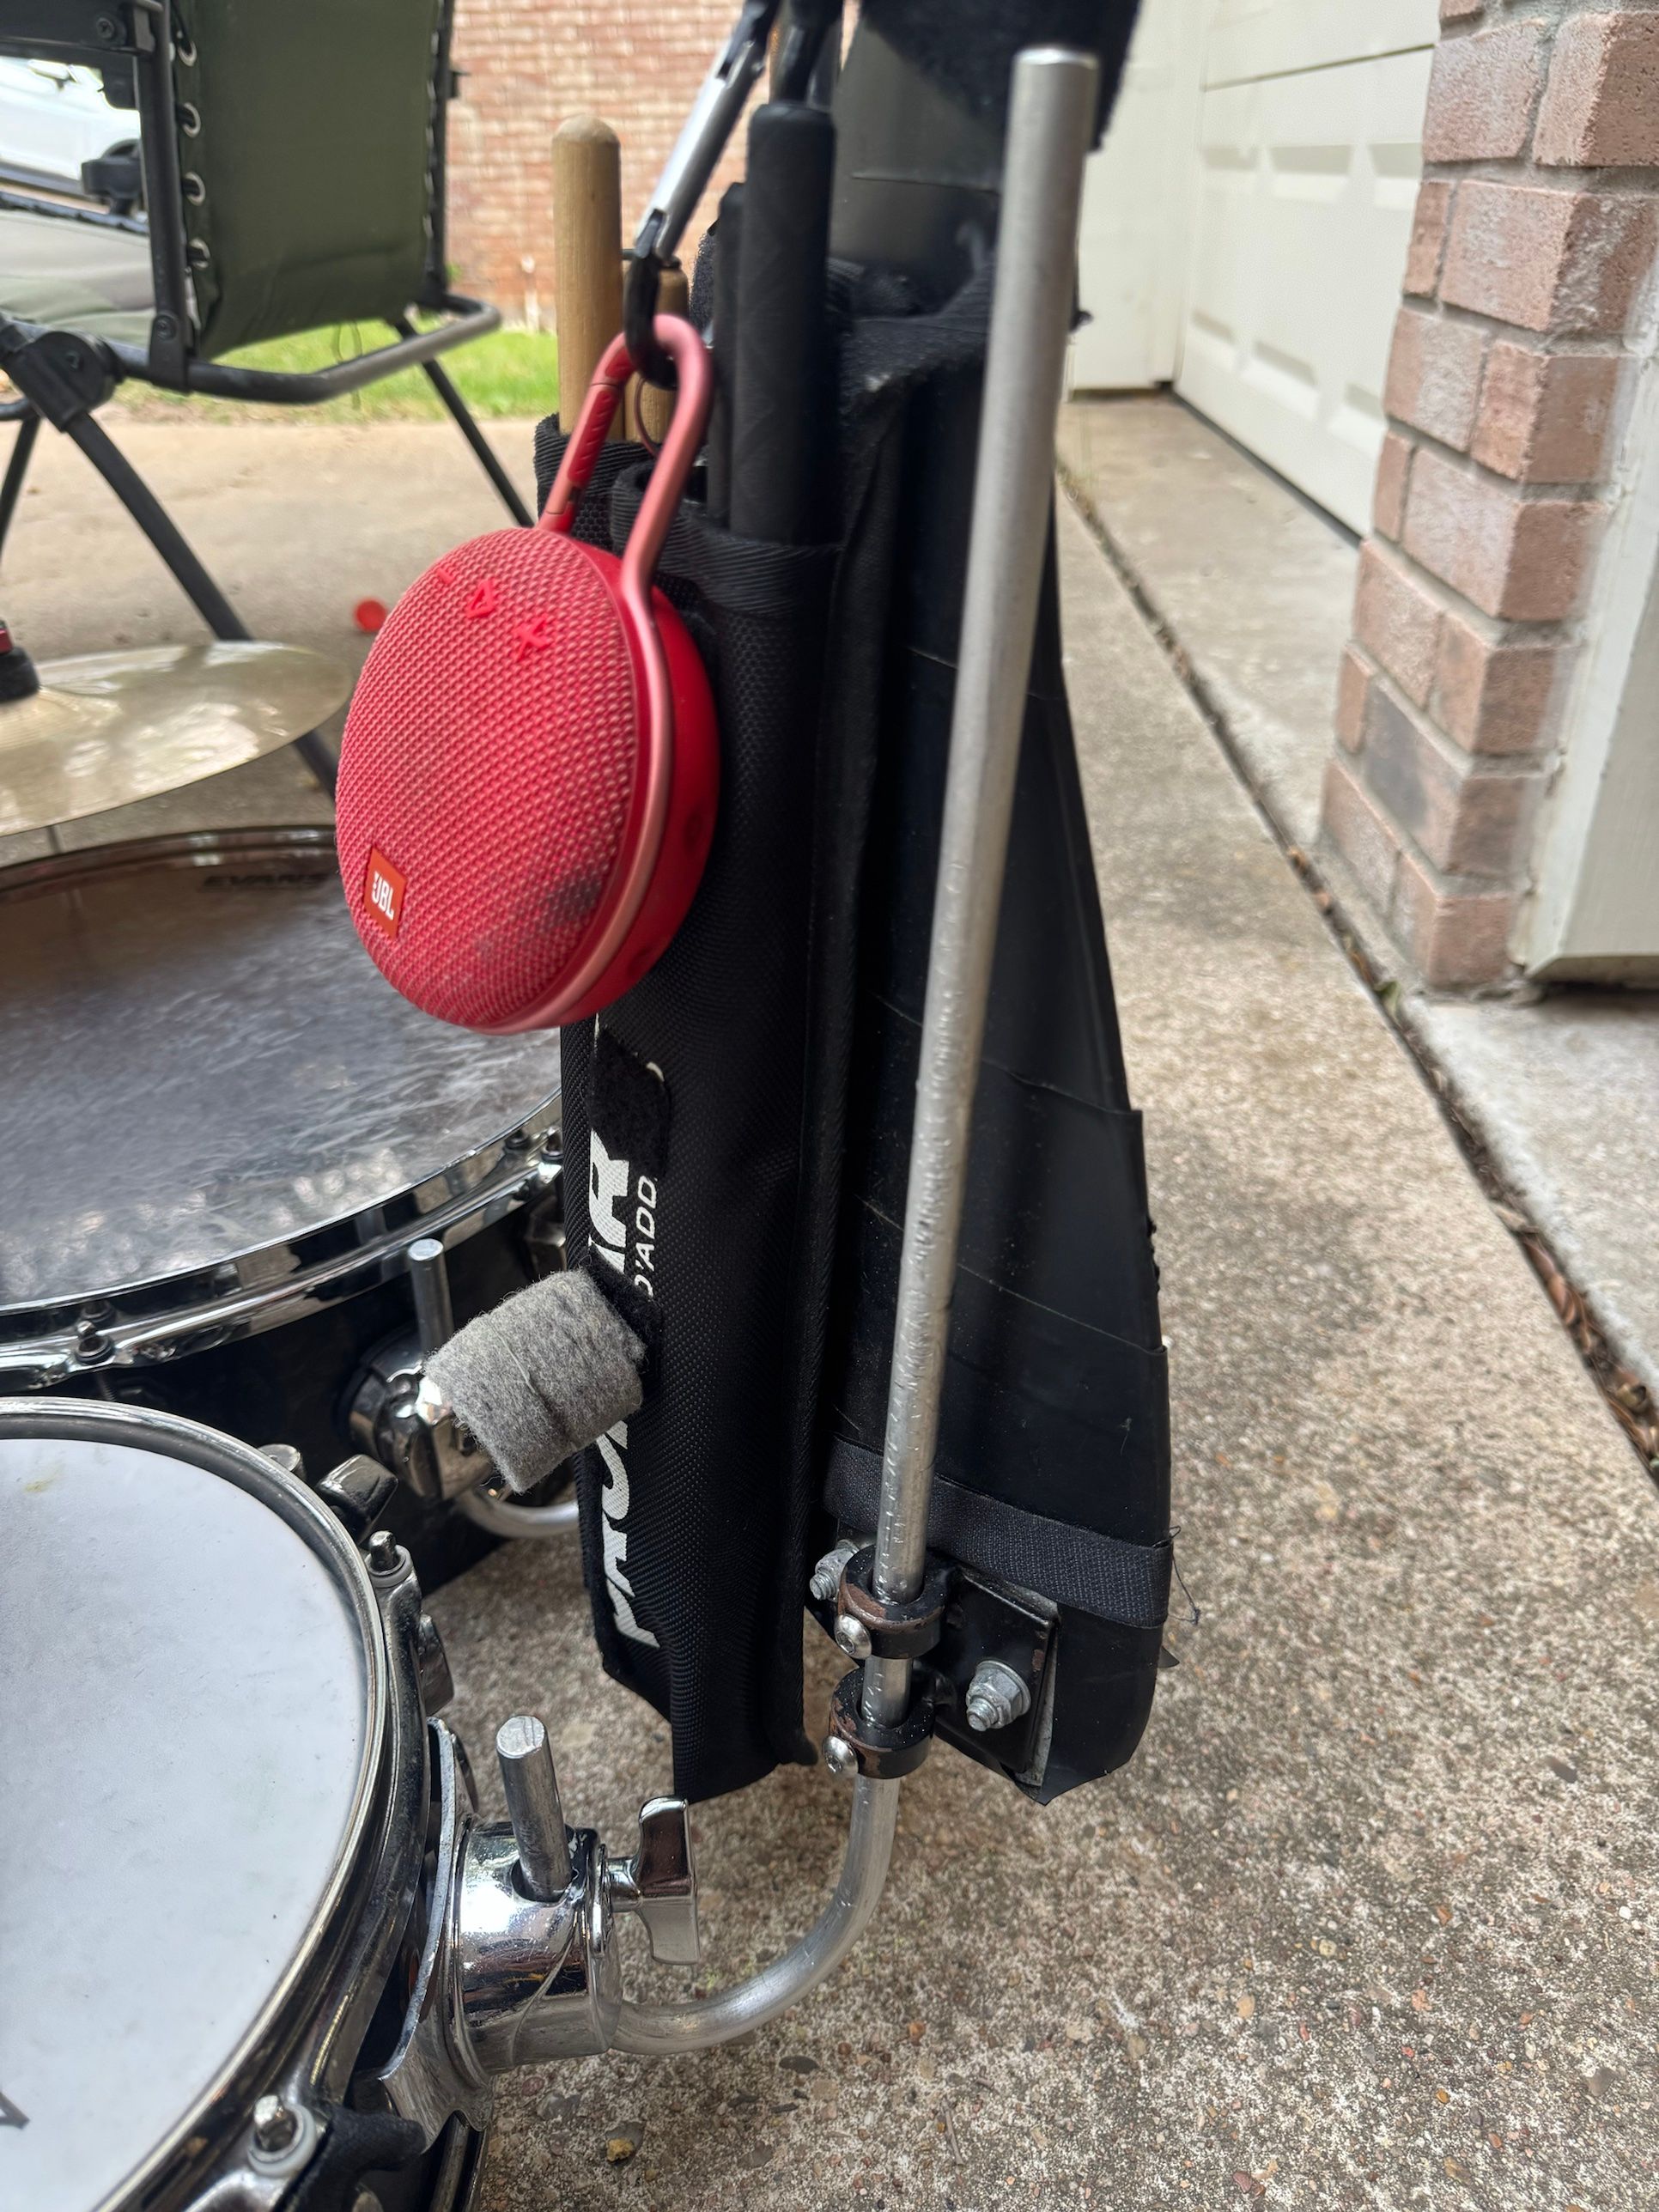
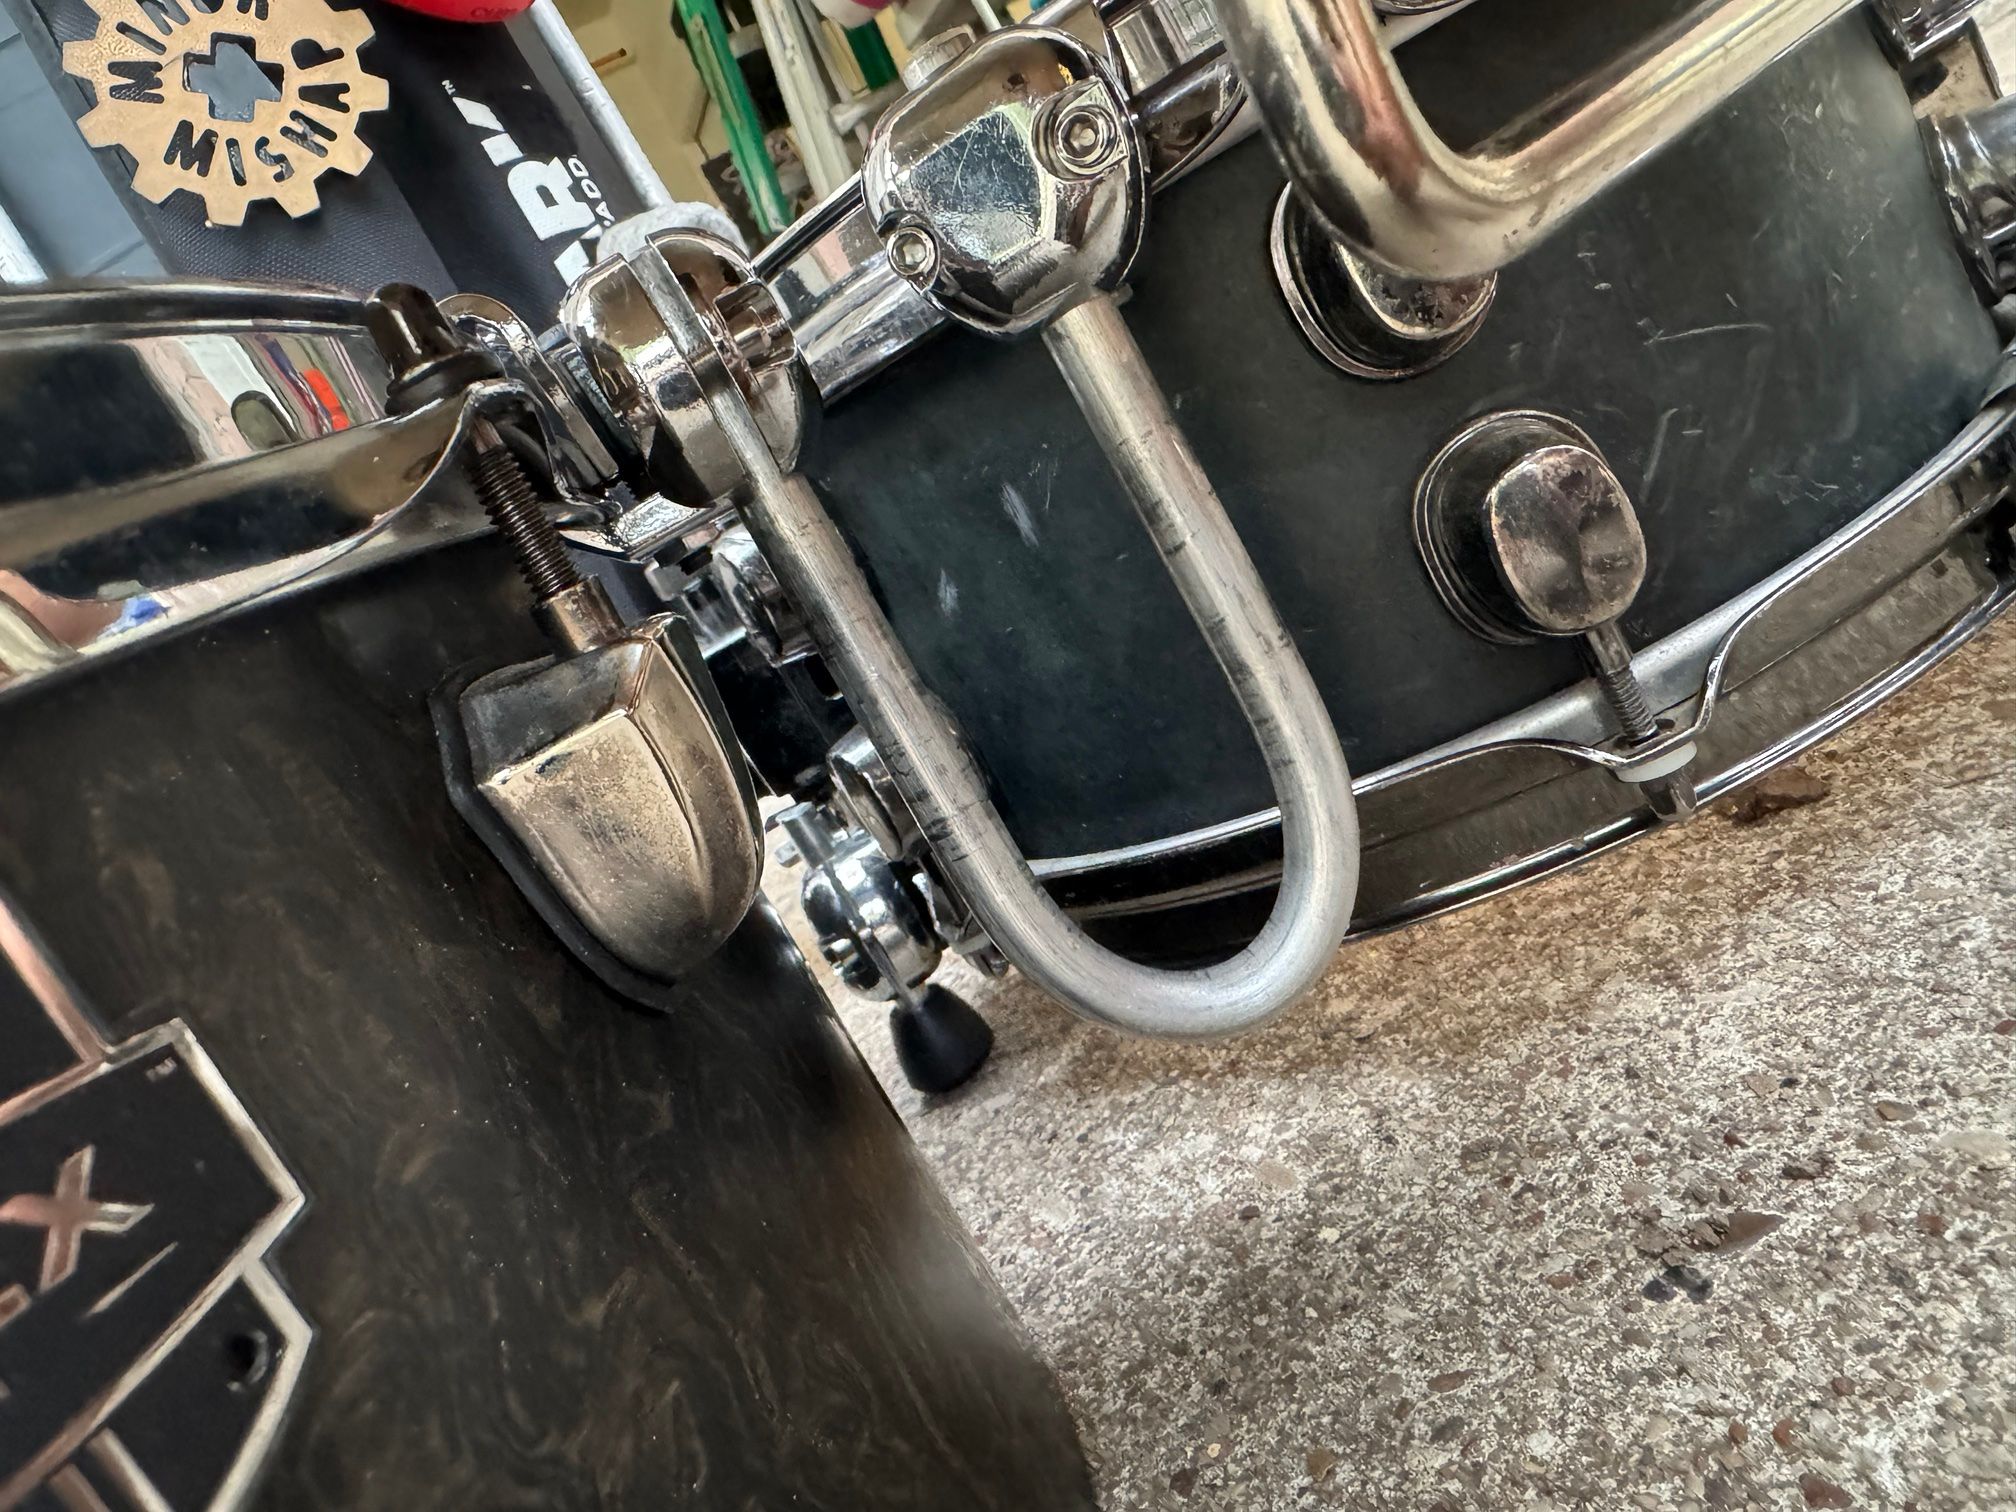
The snare and the floor tom are linked with mounting brackets and a custom U-shaped connecting rod, also made from 7/16-inch aluminum rod.
- Concept: James Hsu
- Fabrication: Chalo Colina
4. The snare raiser
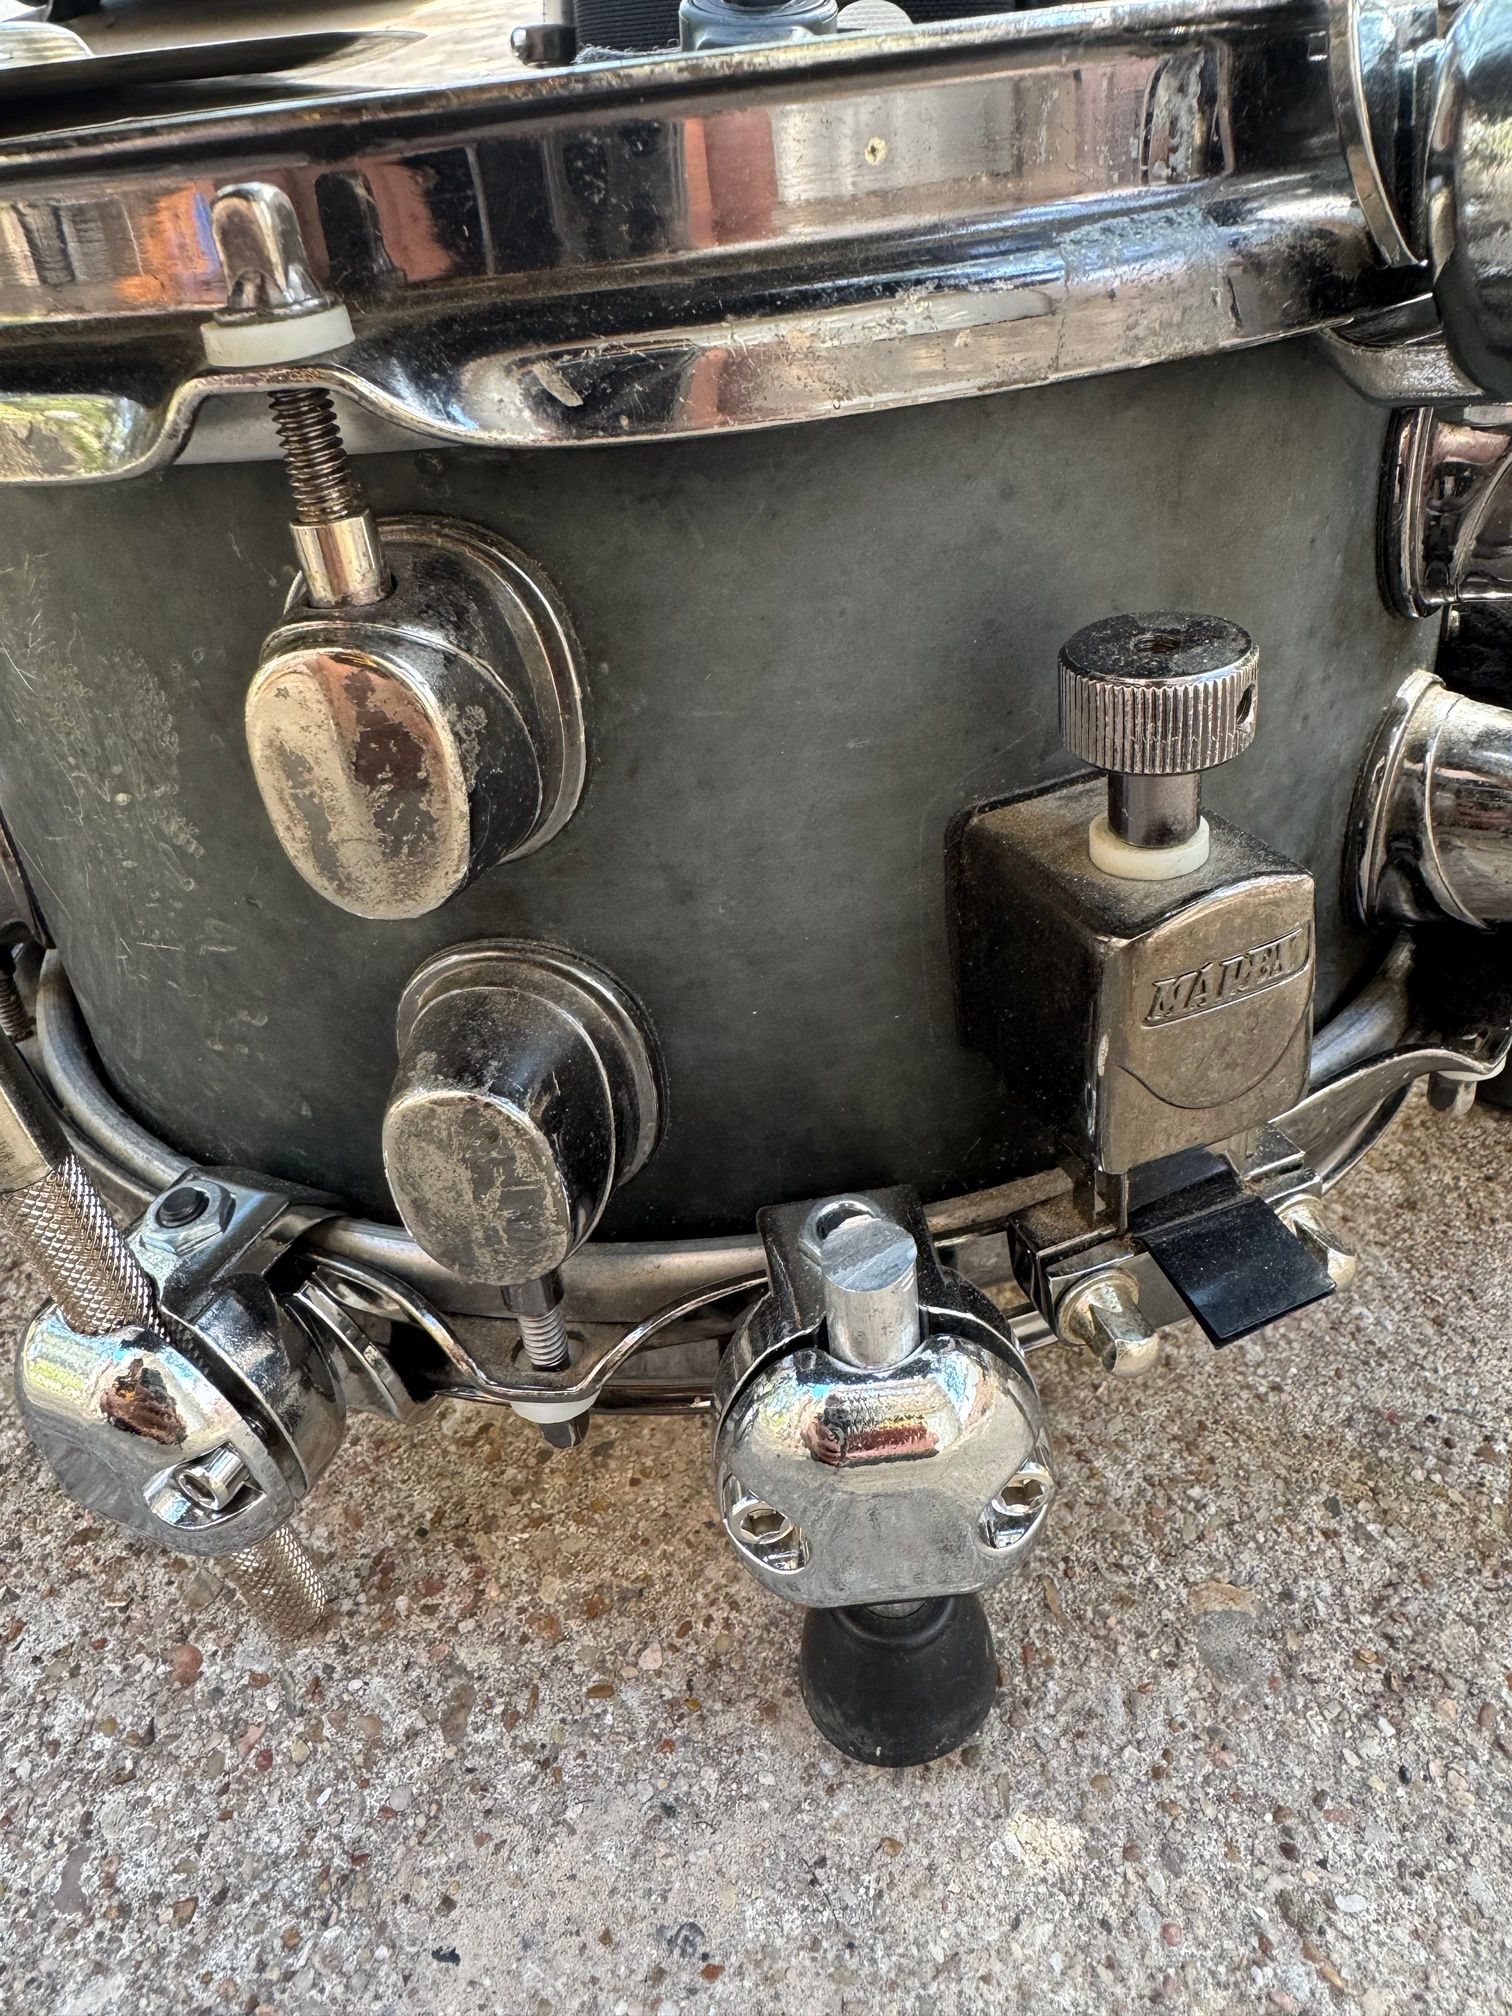
To bring the snare up to the same playing height as the floor tom, I cut the three original floor-tom legs down into very short pieces and held them on the snare with the same drum hoop mounting clamps I use elsewhere on the kit. The clamps are ordinary hardware; the trick is reusing the floor tom’s own legs this way.
- Concept: James Hsu
I haven’t documented the cut length of the legs yet.
5. Mounting cymbals without clamping the floor tom
I avoided extra brackets that clamp onto the floor-tom shell. Because the floor tom carries the bass voice, I want to keep as much of its low-end resonance as I can, and I found that hardware clamped tightly to the shell held back the sound I wanted.
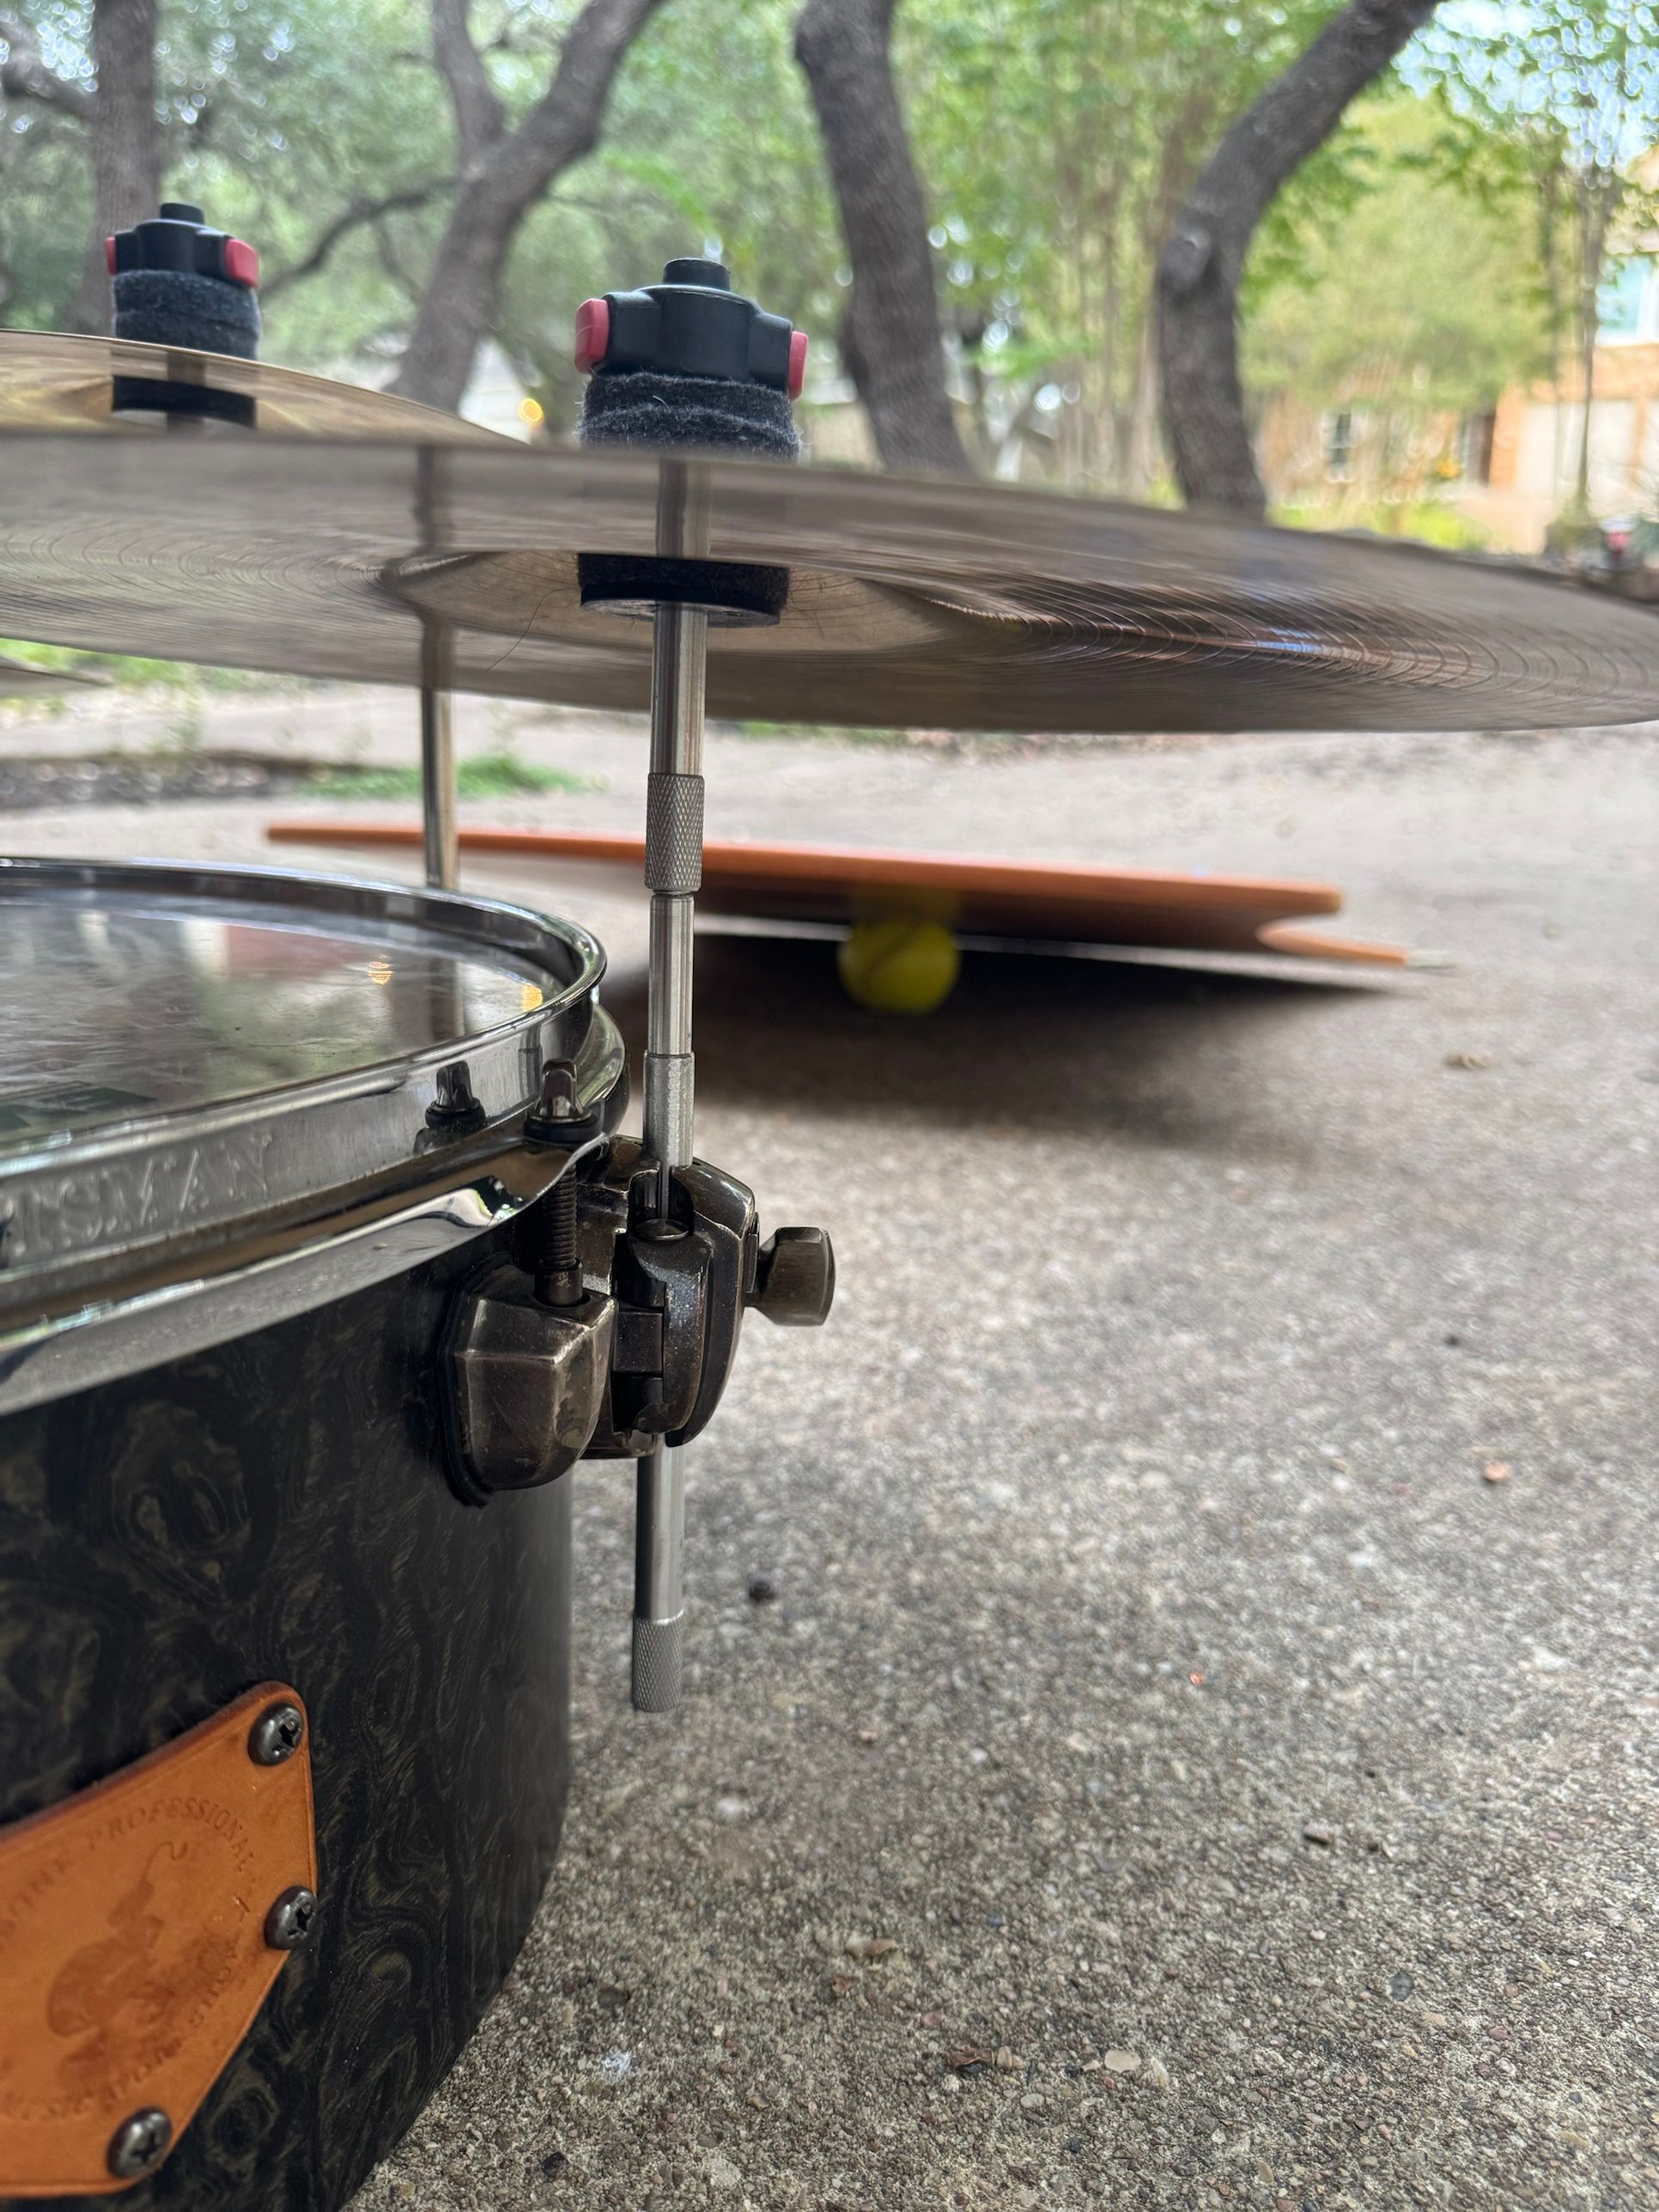
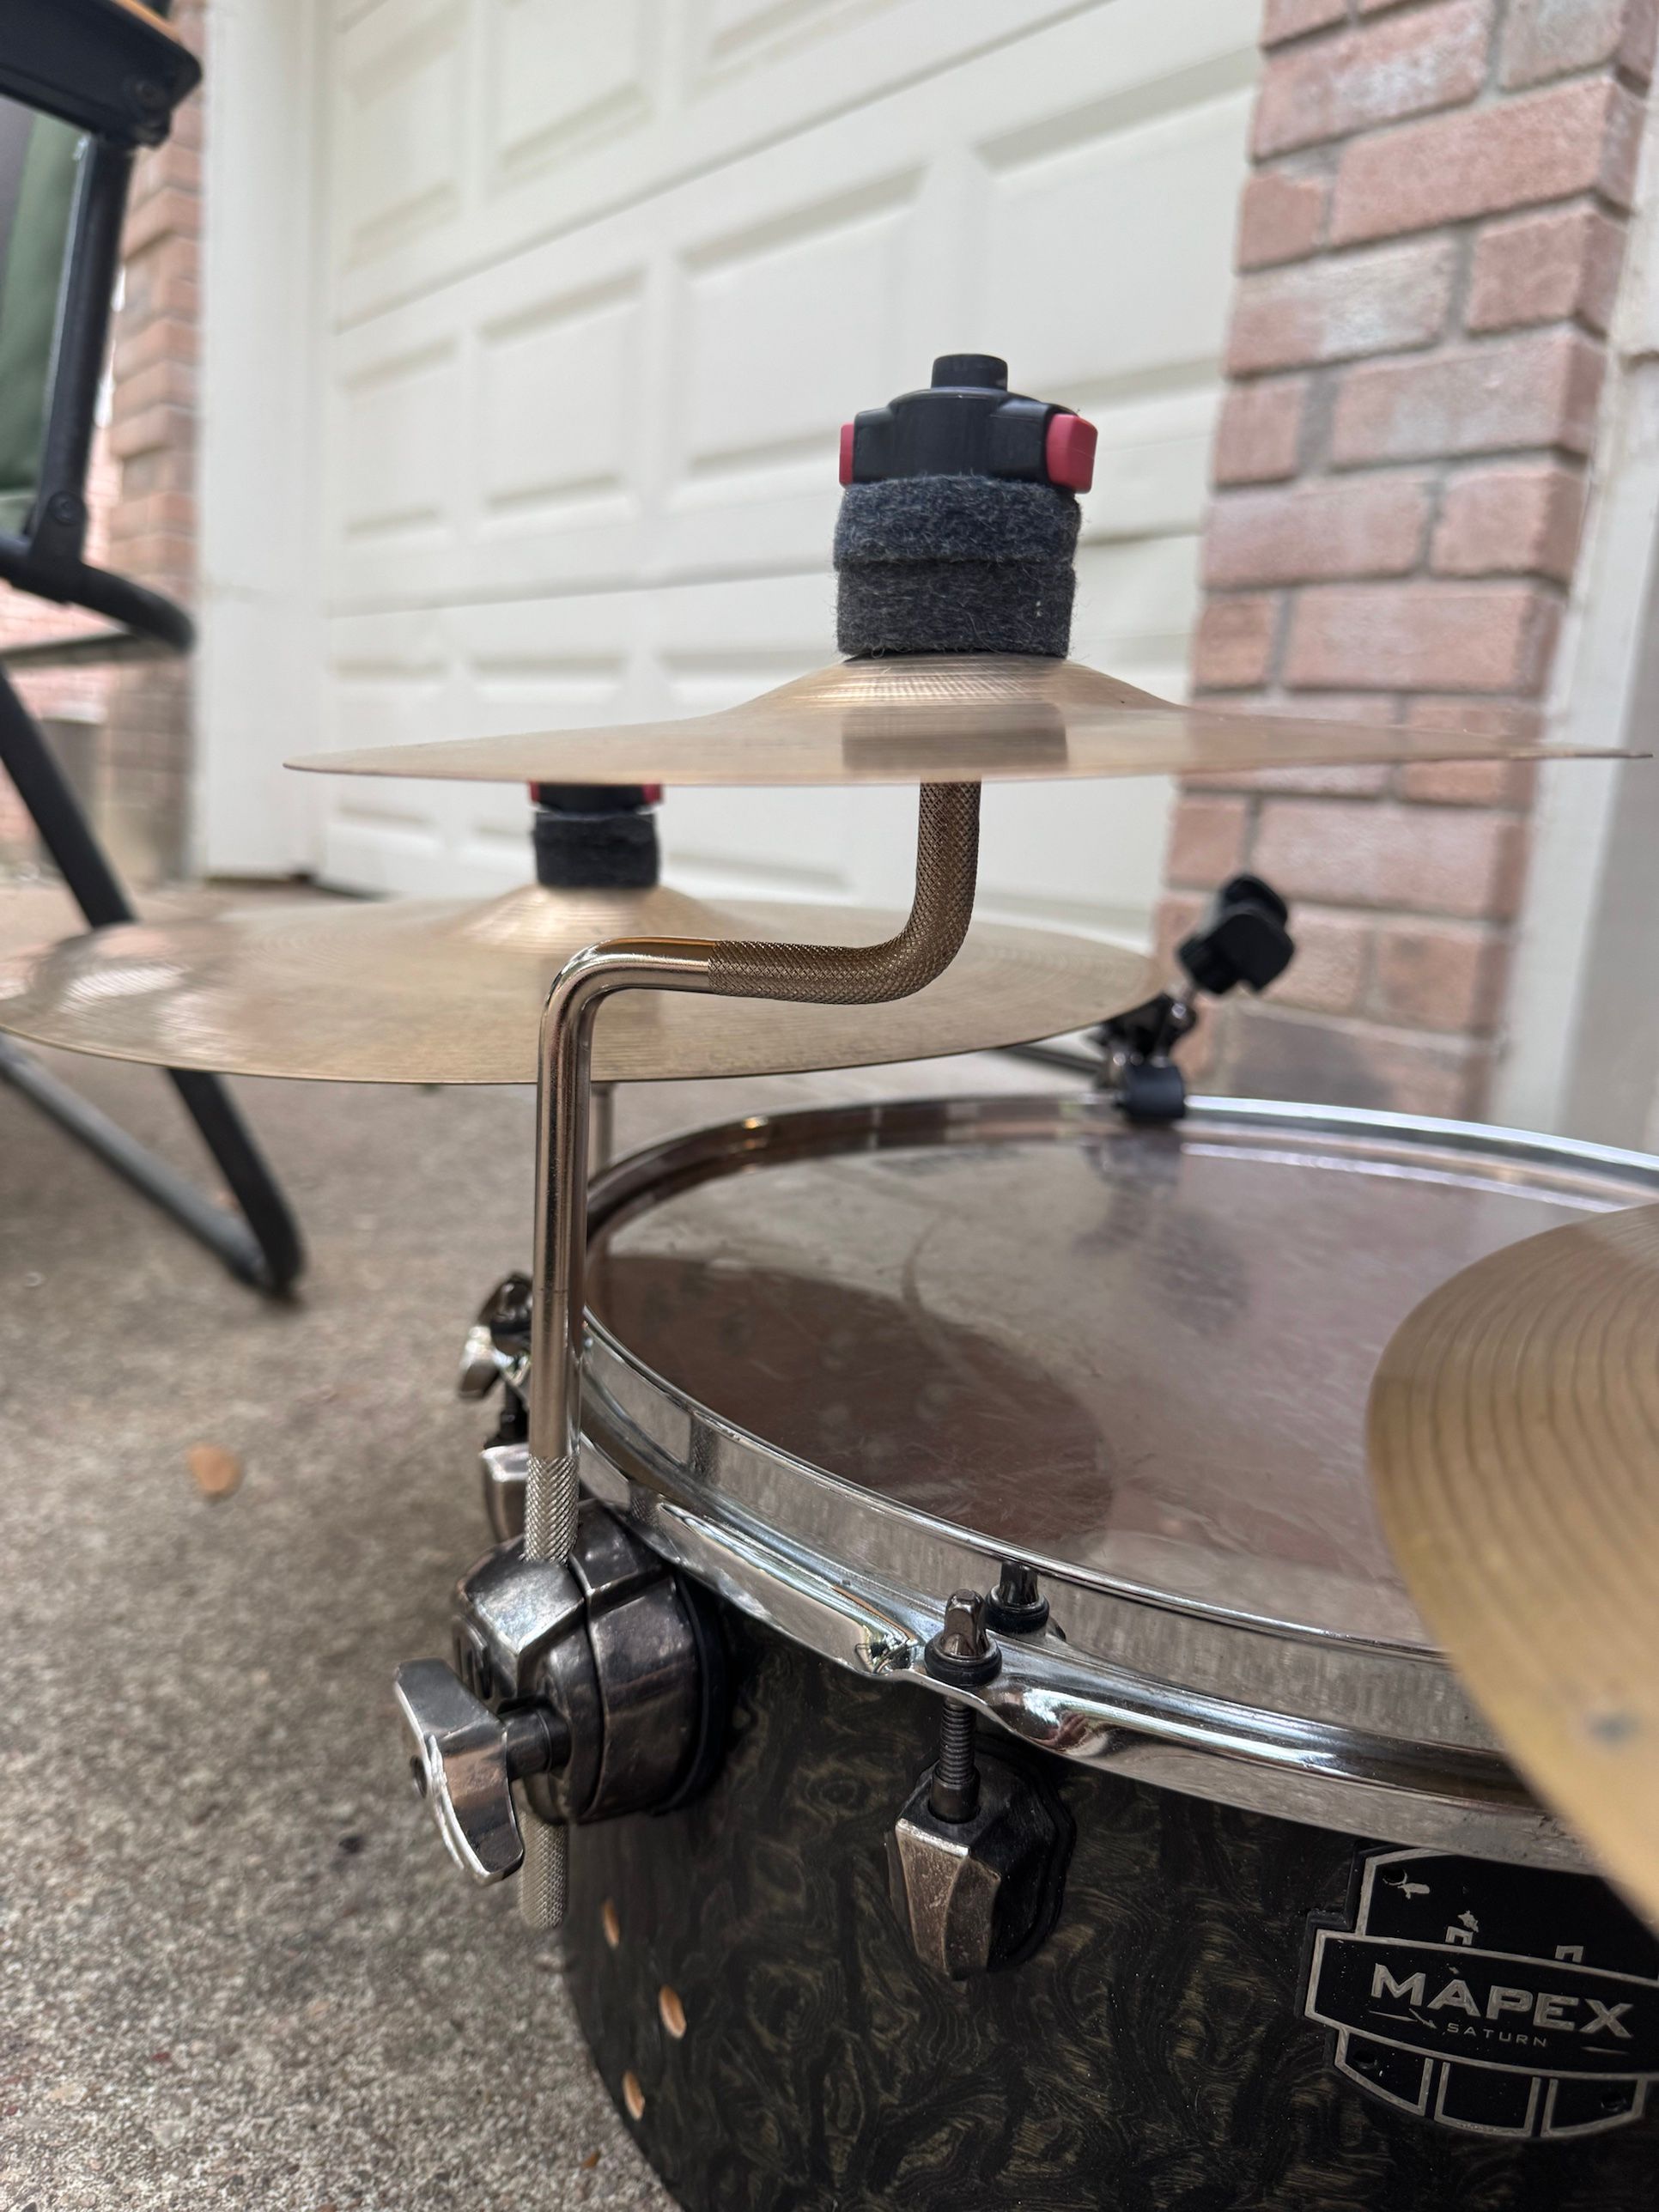
Instead, I relocated the floor tom’s original leg mounting holes and use those positions to hold cymbal hardware. Where the holes go depends on where each player wants their cymbals to sit, so I give no drilling instructions.
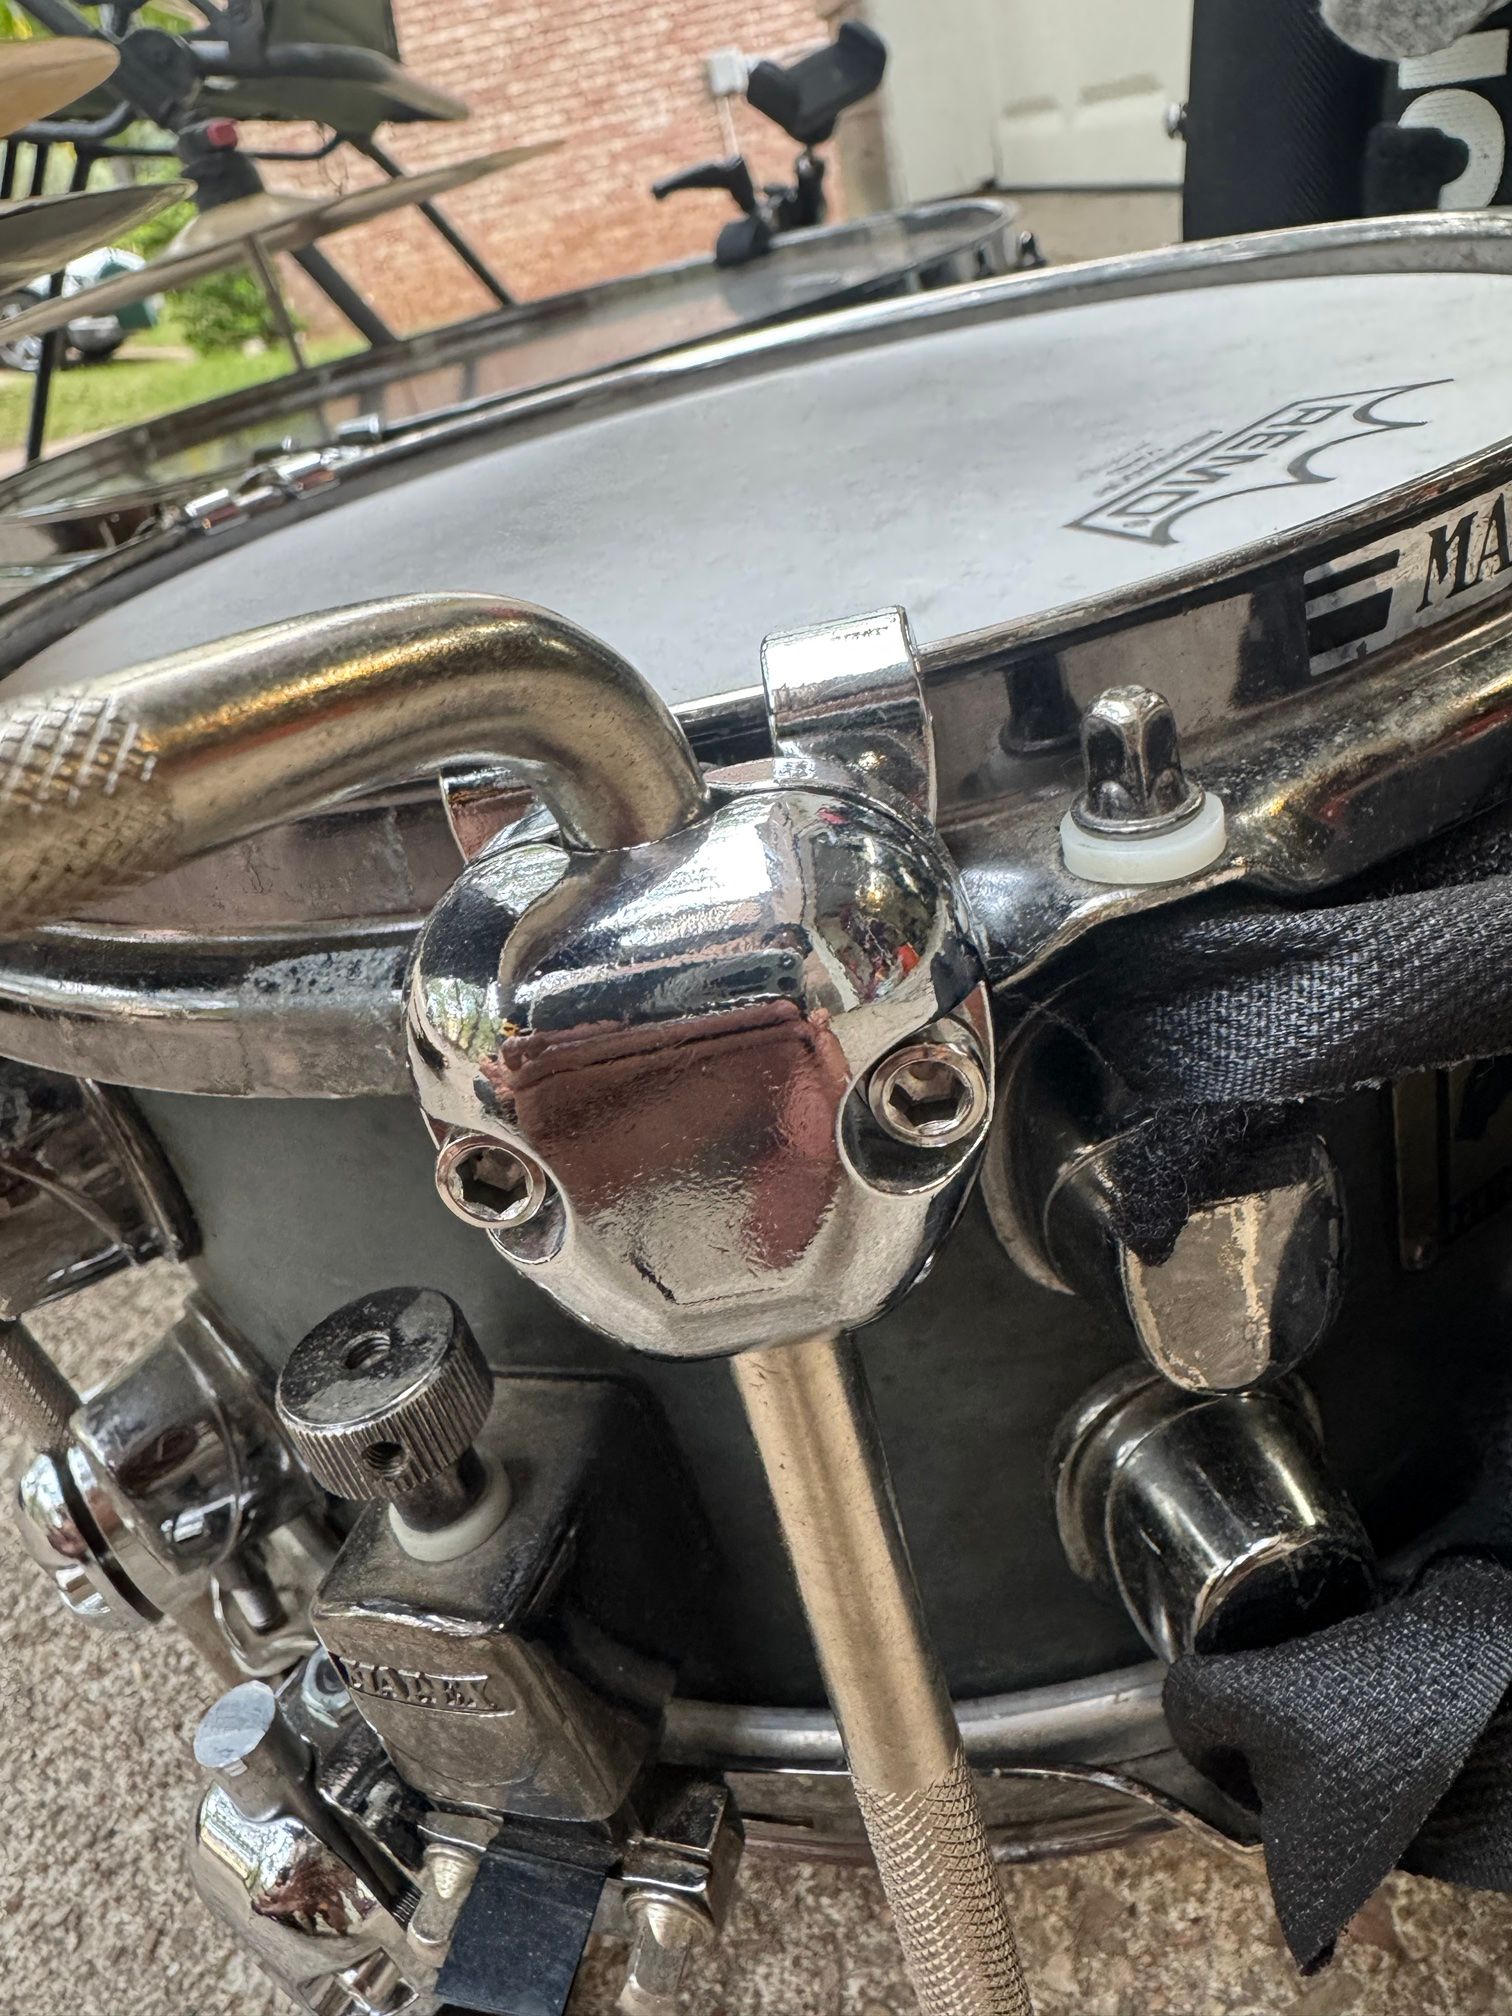
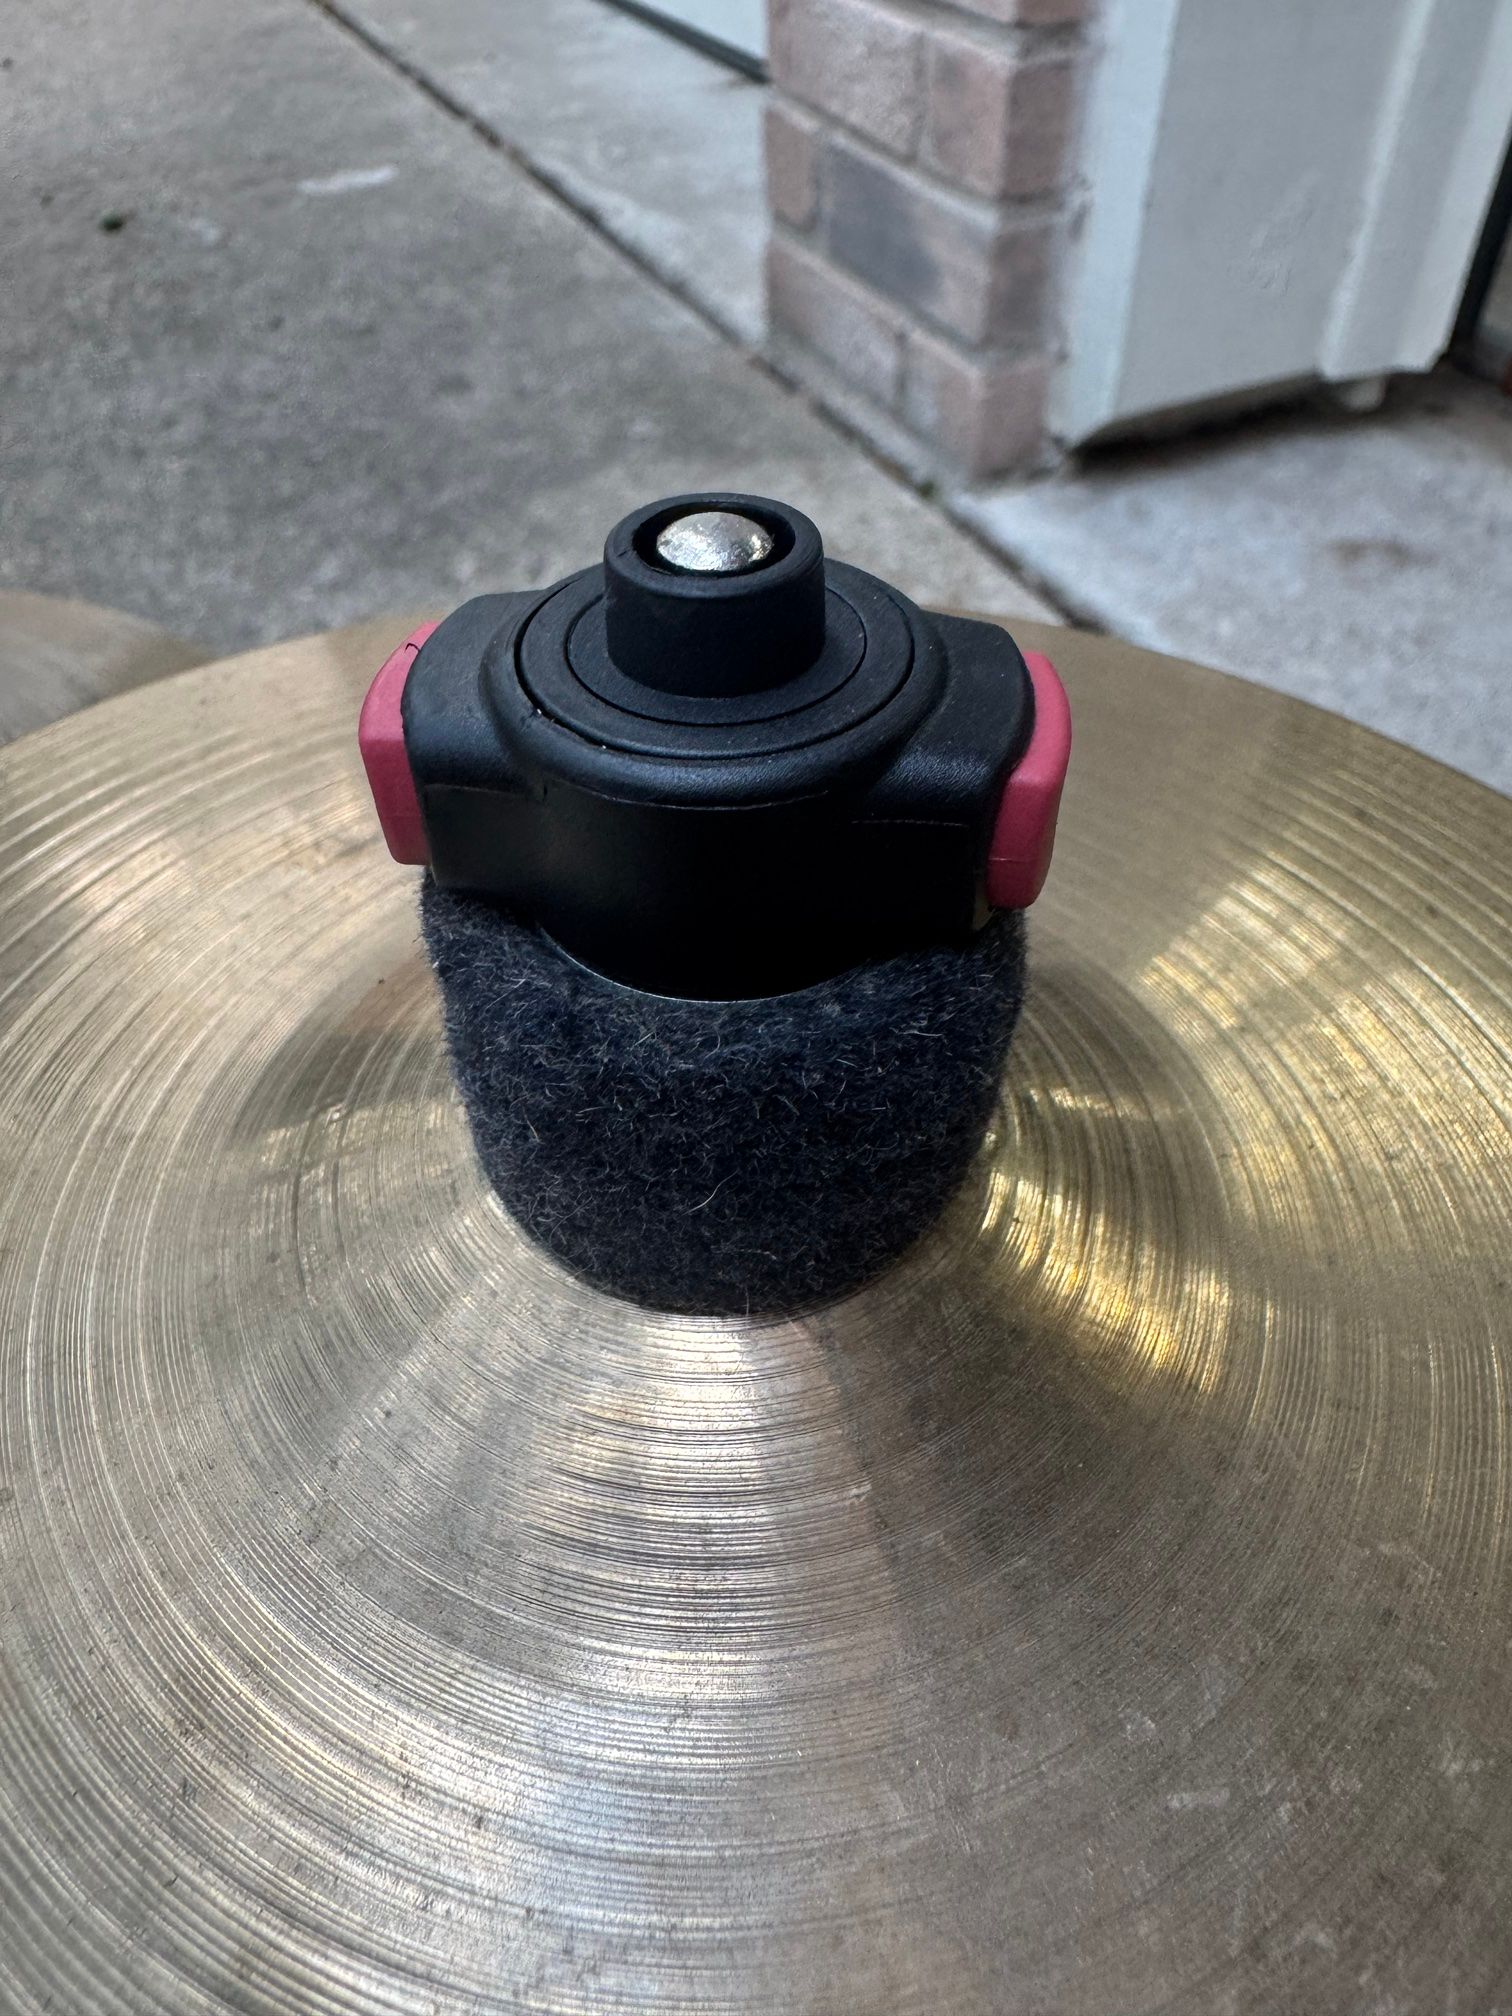
The mounting hardware includes low-profile M8 cymbal stackers, a Z-shaped cymbal boom arm, drum hoop mounting clamps and a hi-hat hoop clamp with Z-rod. The exact count and position of each piece is not fully documented. The Parts List has the product links.
6. The hi-hat
The center hi-hat is mounted on a bracket that comes off the snare. On my kit that works because the snare is tuned high. That is an observation about this kit, not proof that a bracket never affects a snare.
A TAMA Quick Set Cymbal Mate lets me set by hand how tightly the two hi-hat cymbals touch. There is no hi-hat pedal.
7. Accessories
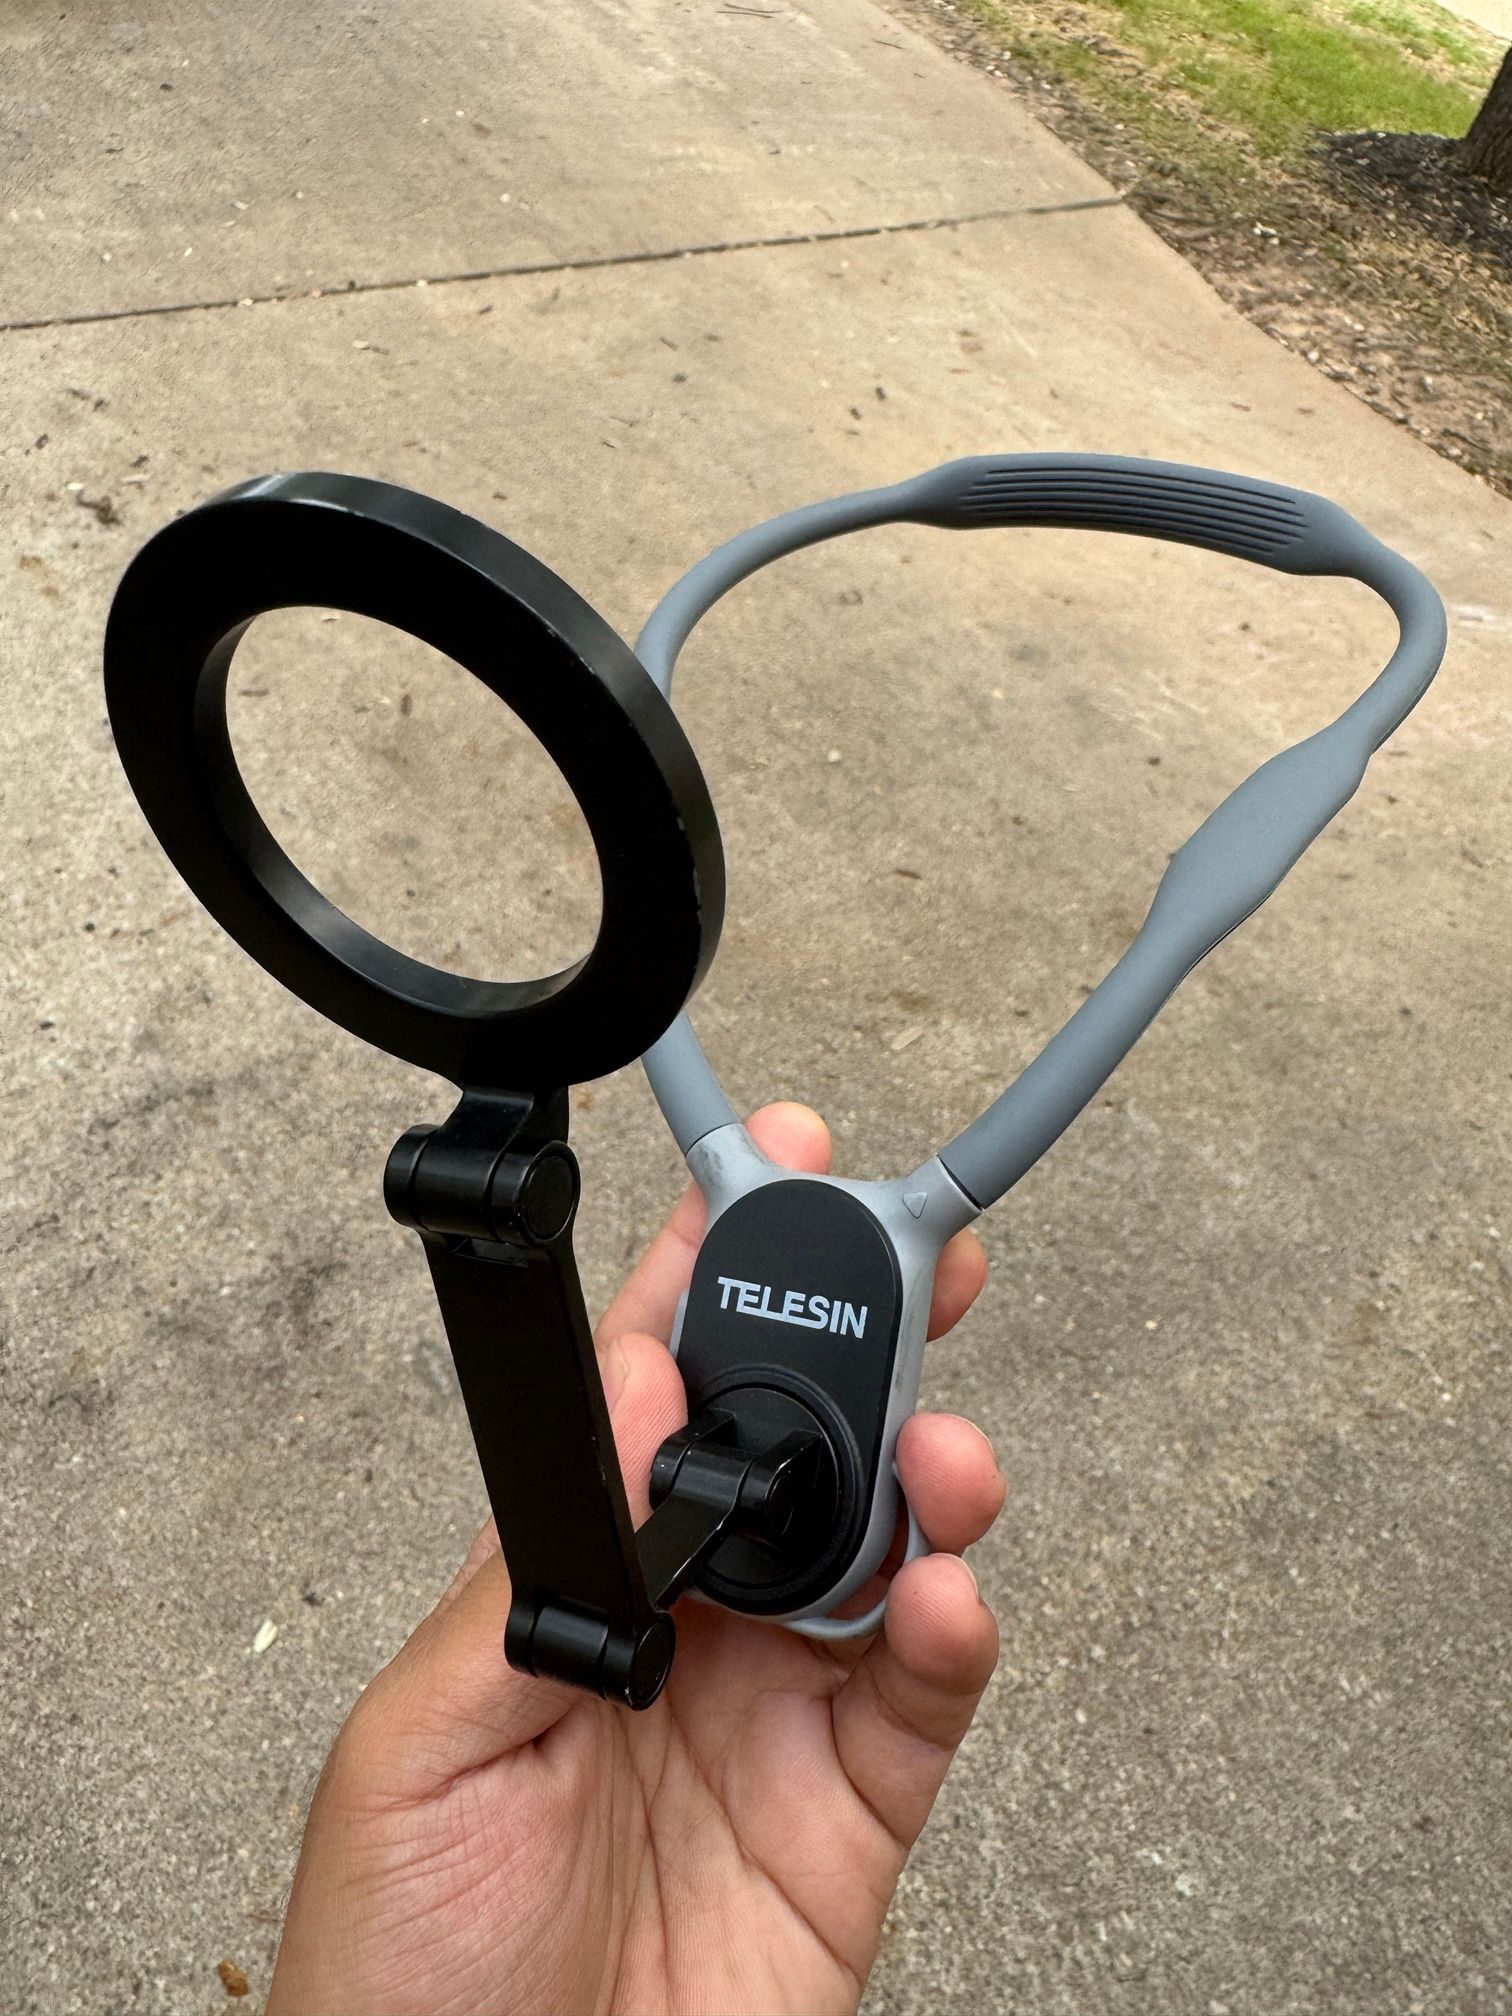
- Two phone mounts, used at the same time: a TELESIN magnetic neck mount and a Khazylorr clamp mount with a magic arm. What each one films and exactly where each attaches is not documented yet.
- A JBL Clip 3 Bluetooth speaker clipped to the front of the harness.
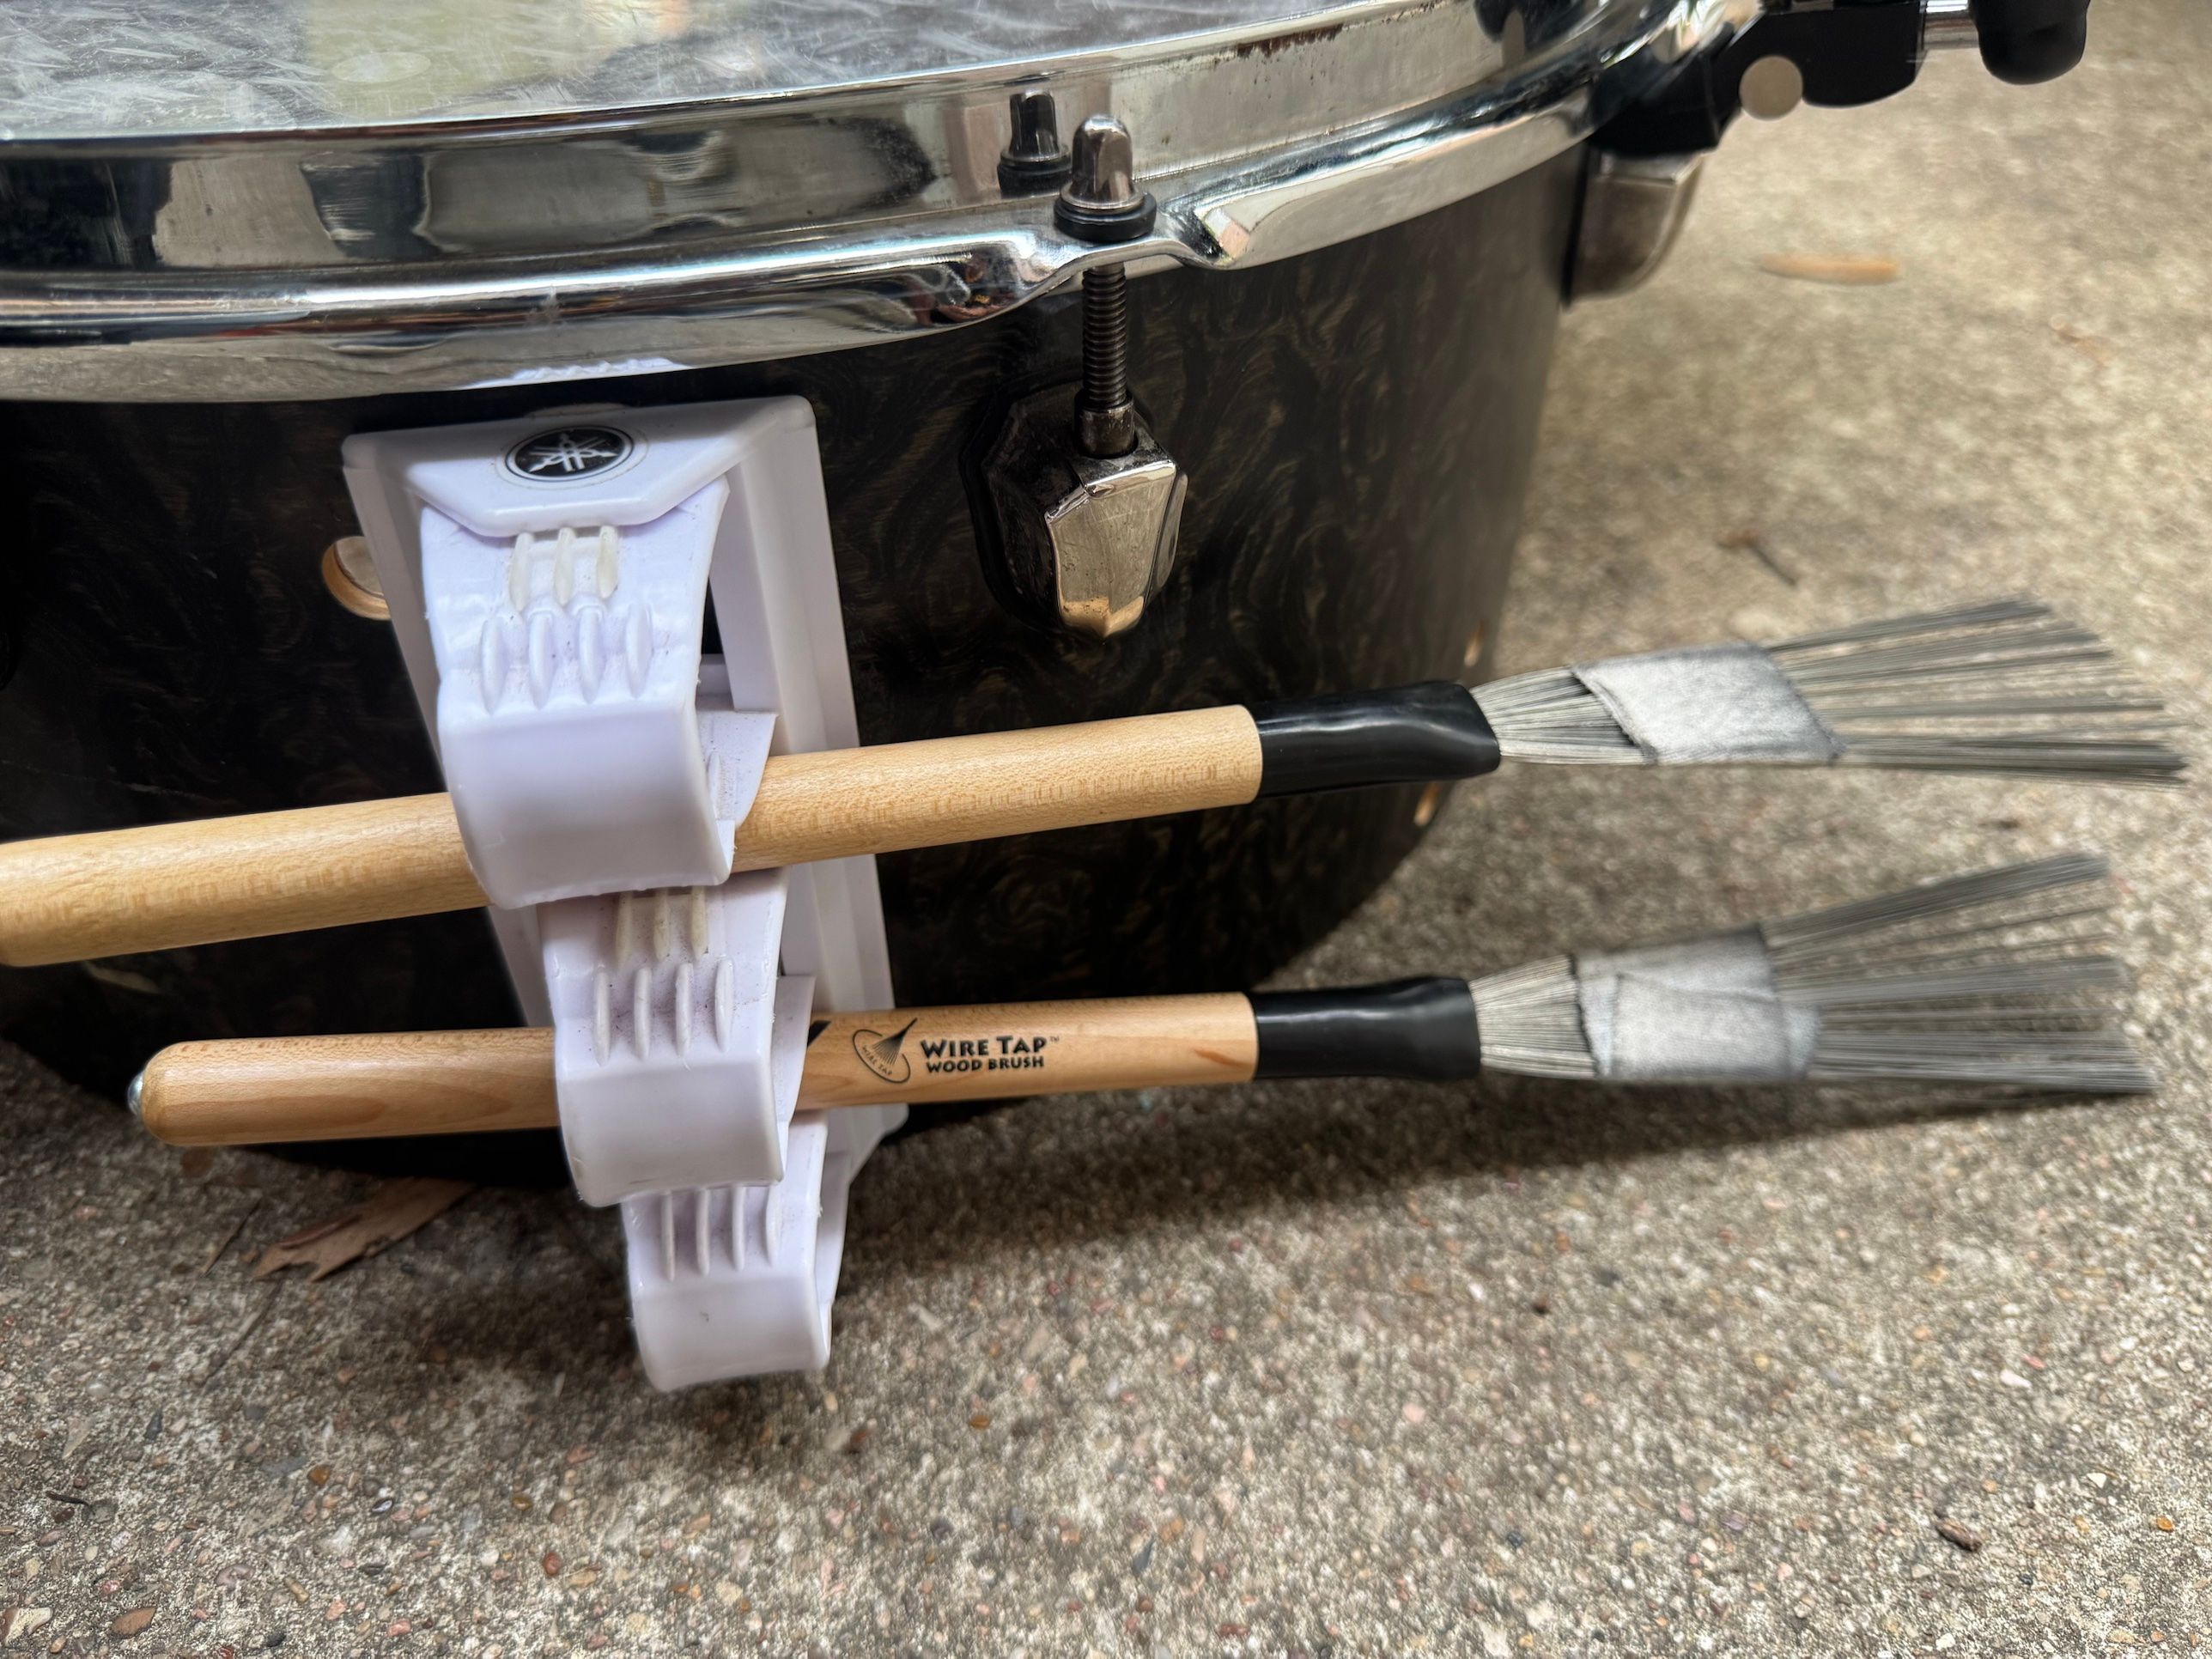
- Vater Wire Tap Wood Brushes, held in Yamaha MBMH-2 mallet holders that I use as brush holders.
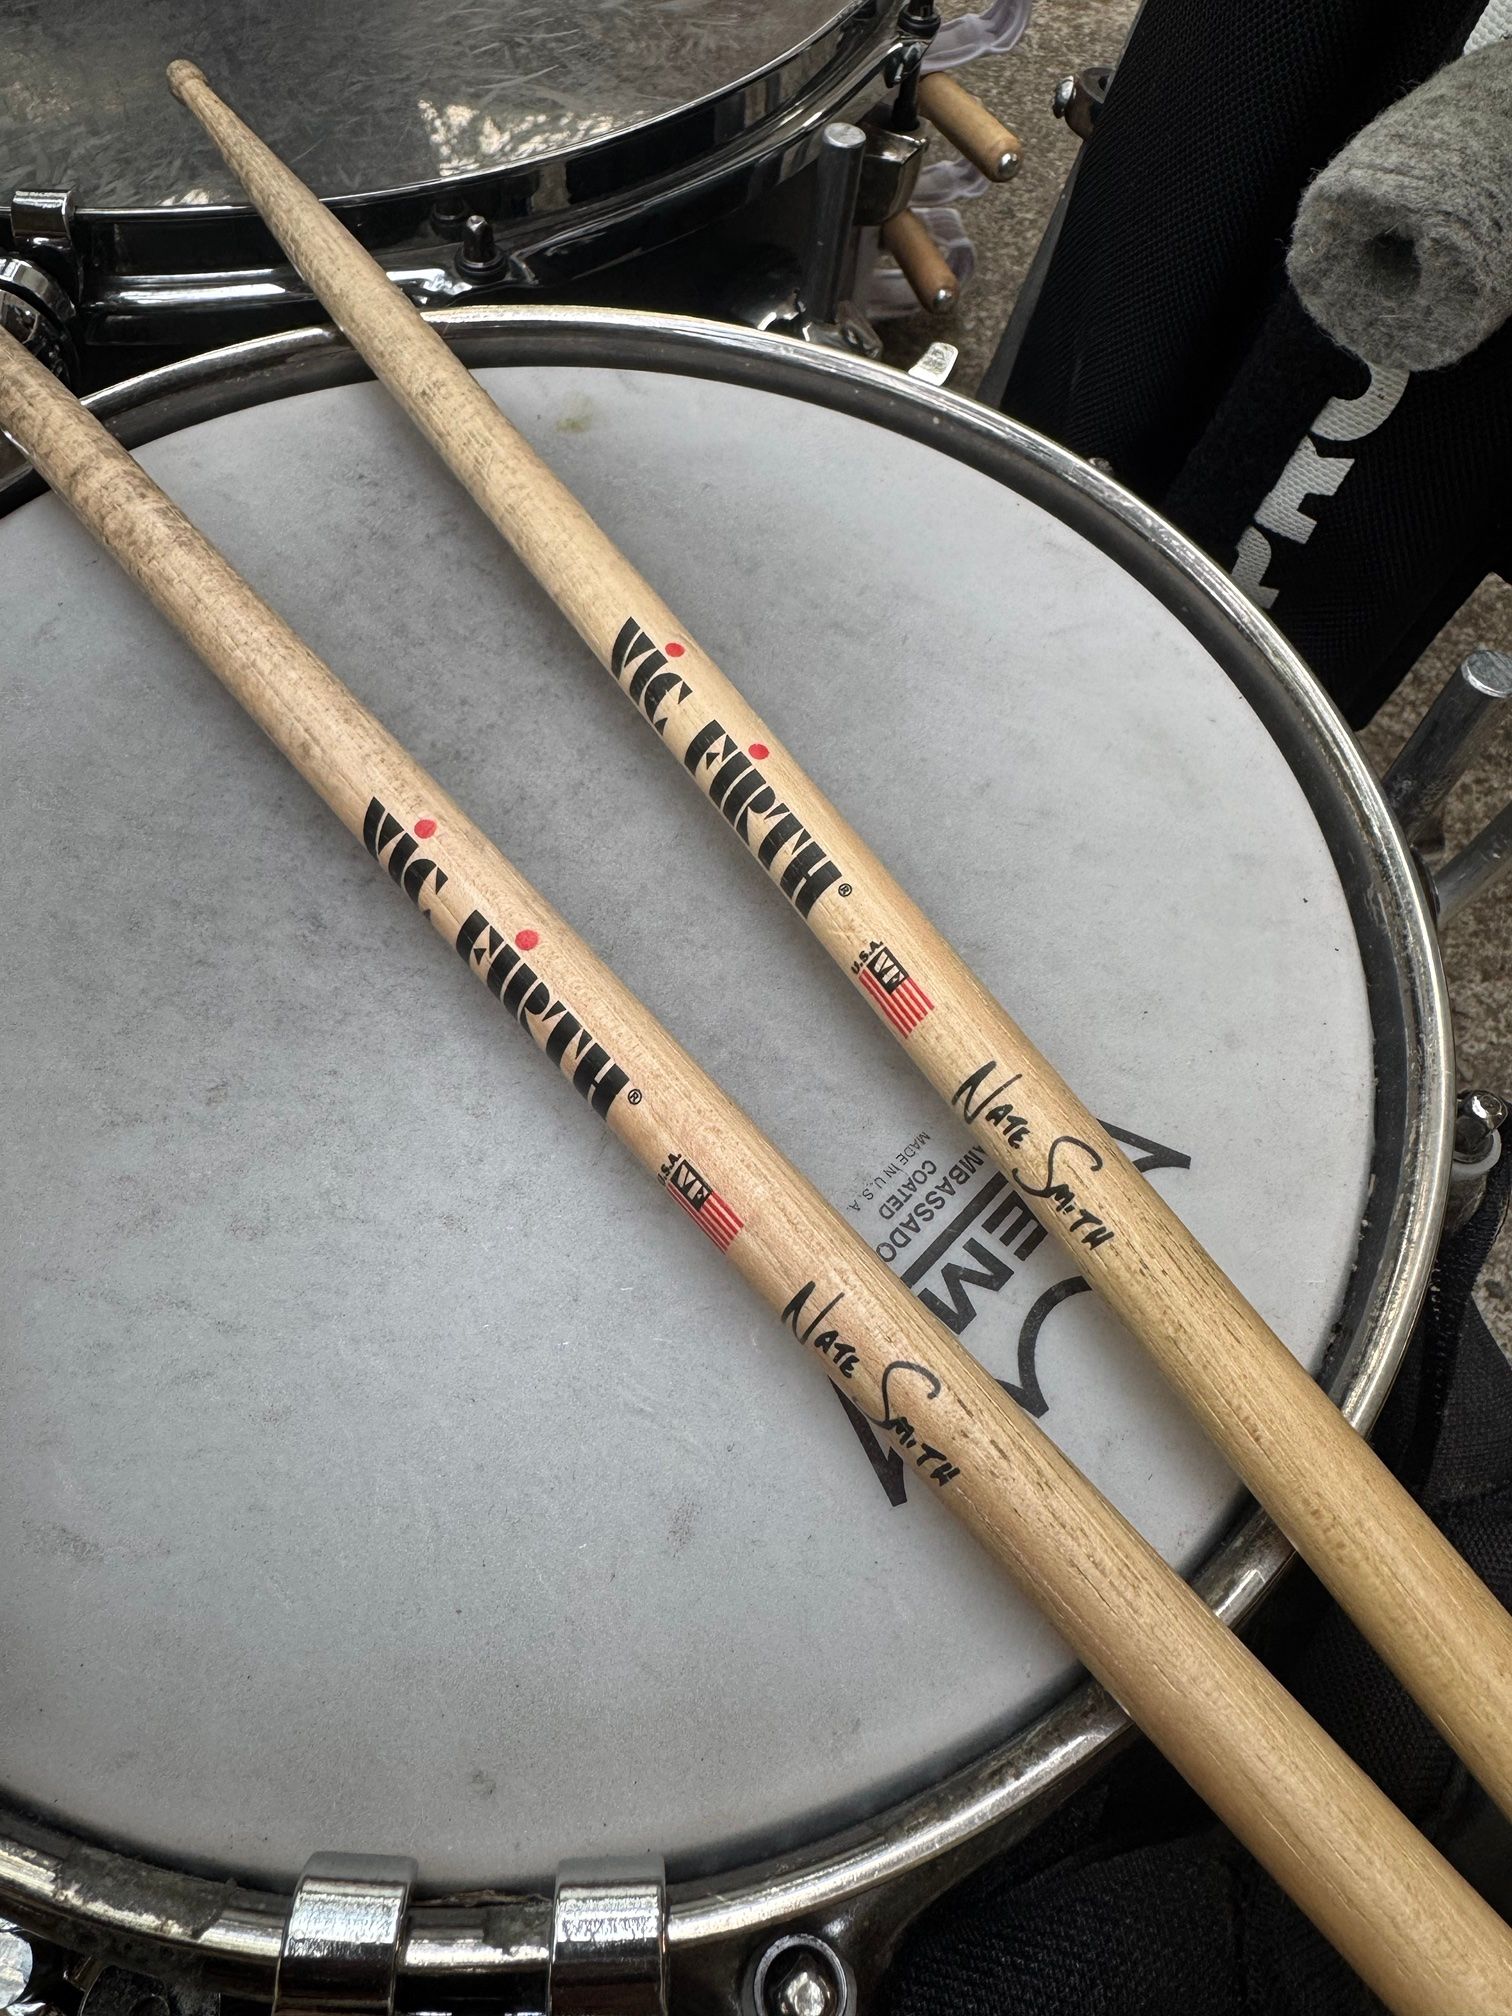
- Vic Firth Nate Smith signature sticks, carried in a ProMark PQ2 two-pair marching stick bag.
- A KEMIMOTO bicycle cup holder with a pouch.
- My Minor Mishap Marching Band badge.
Some of these parts were designed for bicycles, guitars or marching drums. I used them where they worked for this build.
8. Weight distribution: don’t skip this
When you carry a whole kit, left/right balance matters a lot. Uneven load causes real discomfort and strain.
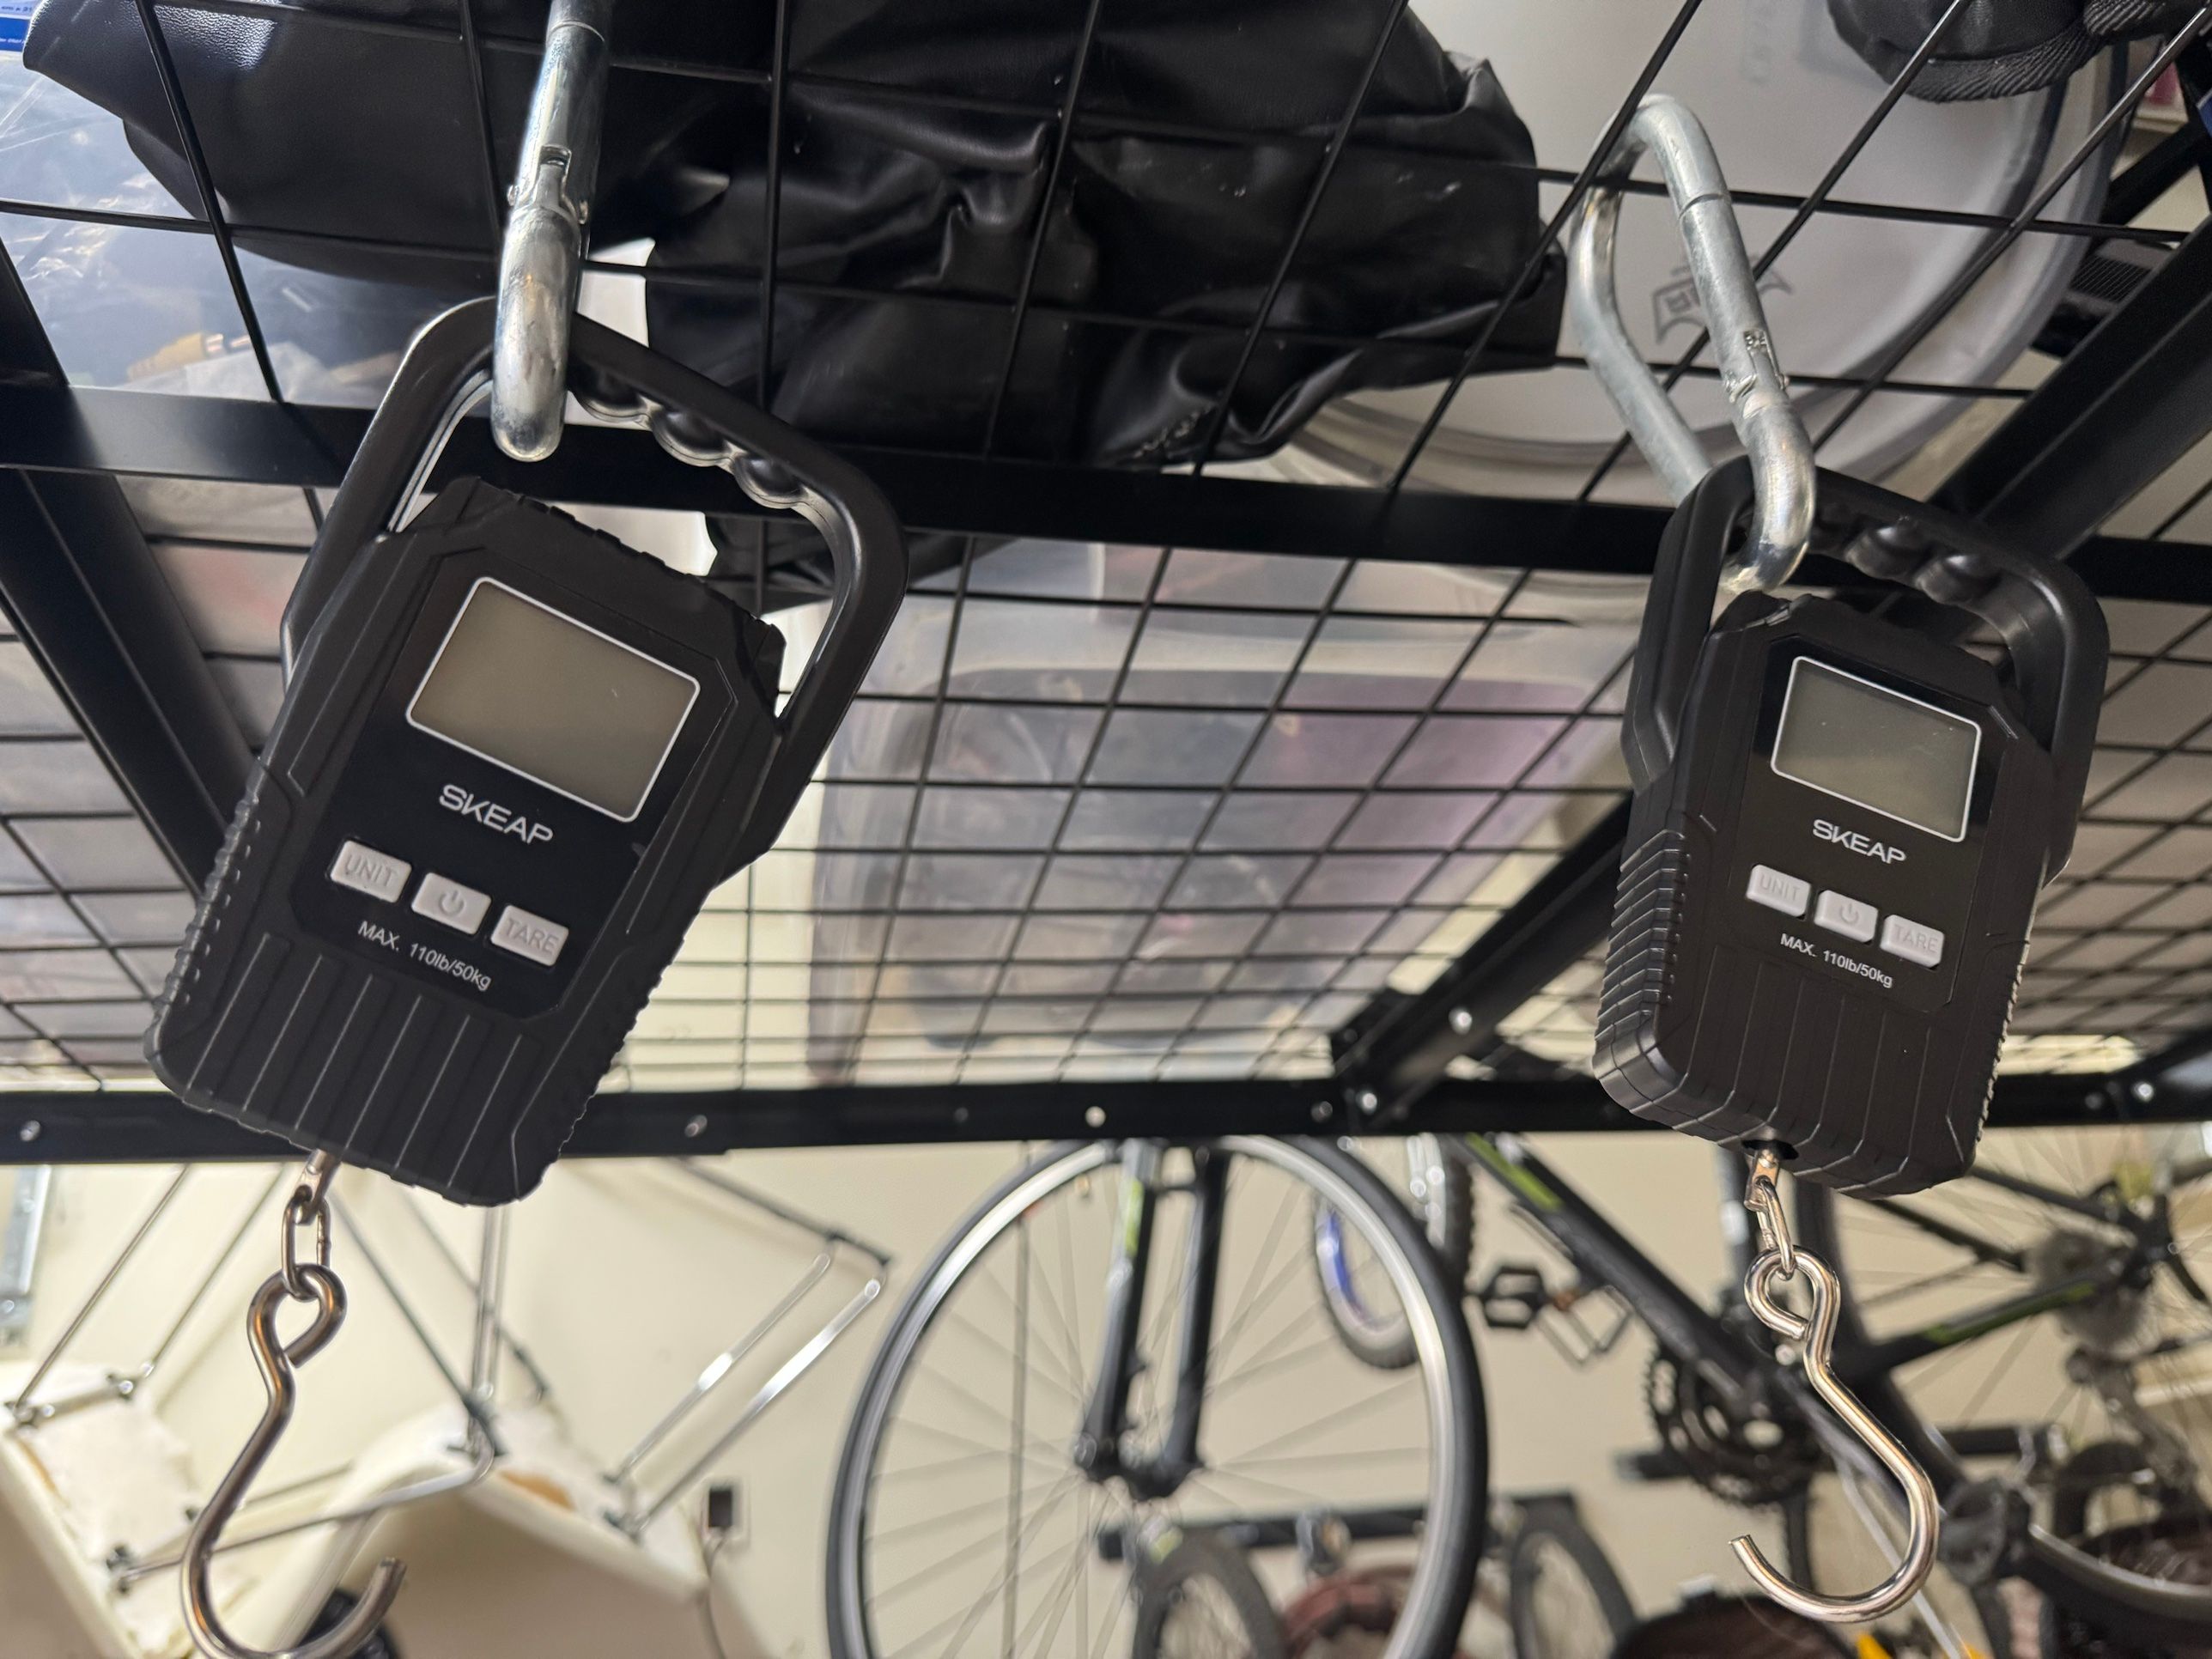
I use two digital luggage scales, one on each side of the suspended harness, and move components until the two readings are close. Then I wear the kit and check front/back balance, shoulder pressure, how secure the fasteners are, and how stable it feels while moving.
In one measured configuration, each scale read about 6.5 kg. Those readings were for that suspended configuration only. They are not the weight of the complete kit, which is about 38 lb / 17 kg.
Being able to mount a drum kit on your body and being able to wear it safely and comfortably while playing are very different problems. Equal scale readings are a useful check, but they do not prove a rig is safe.
9. Always a work in progress
This started with a floor tom attached at my waist and grew through many changes to brackets, connectors and accessories. I treat each upgrade like a software release, with a version number and a changelog. The current documented release is v3.2.0.
Thanks to James Hsu for the design ideas and to Chalo Colina for fabricating the custom aluminum parts. See Credits for details.